The Tale of Iyo
Chapter 2
The story Continues
After completing the first chapter of the raid, you’ll be able to continue the chase to stop Iyo in the second chapter. However, the second chapter is much harder than the first, and you need to work together in order to complete it. You’ll need to coordinate jumps, take separate paths, and hold points. For a lot of people this is the most difficult chapter, and it’s also the longest one. When we first got our hands on it, it took many of us hours to complete without a guide. With this guide you should have a shorter and smoother time!

The Intro
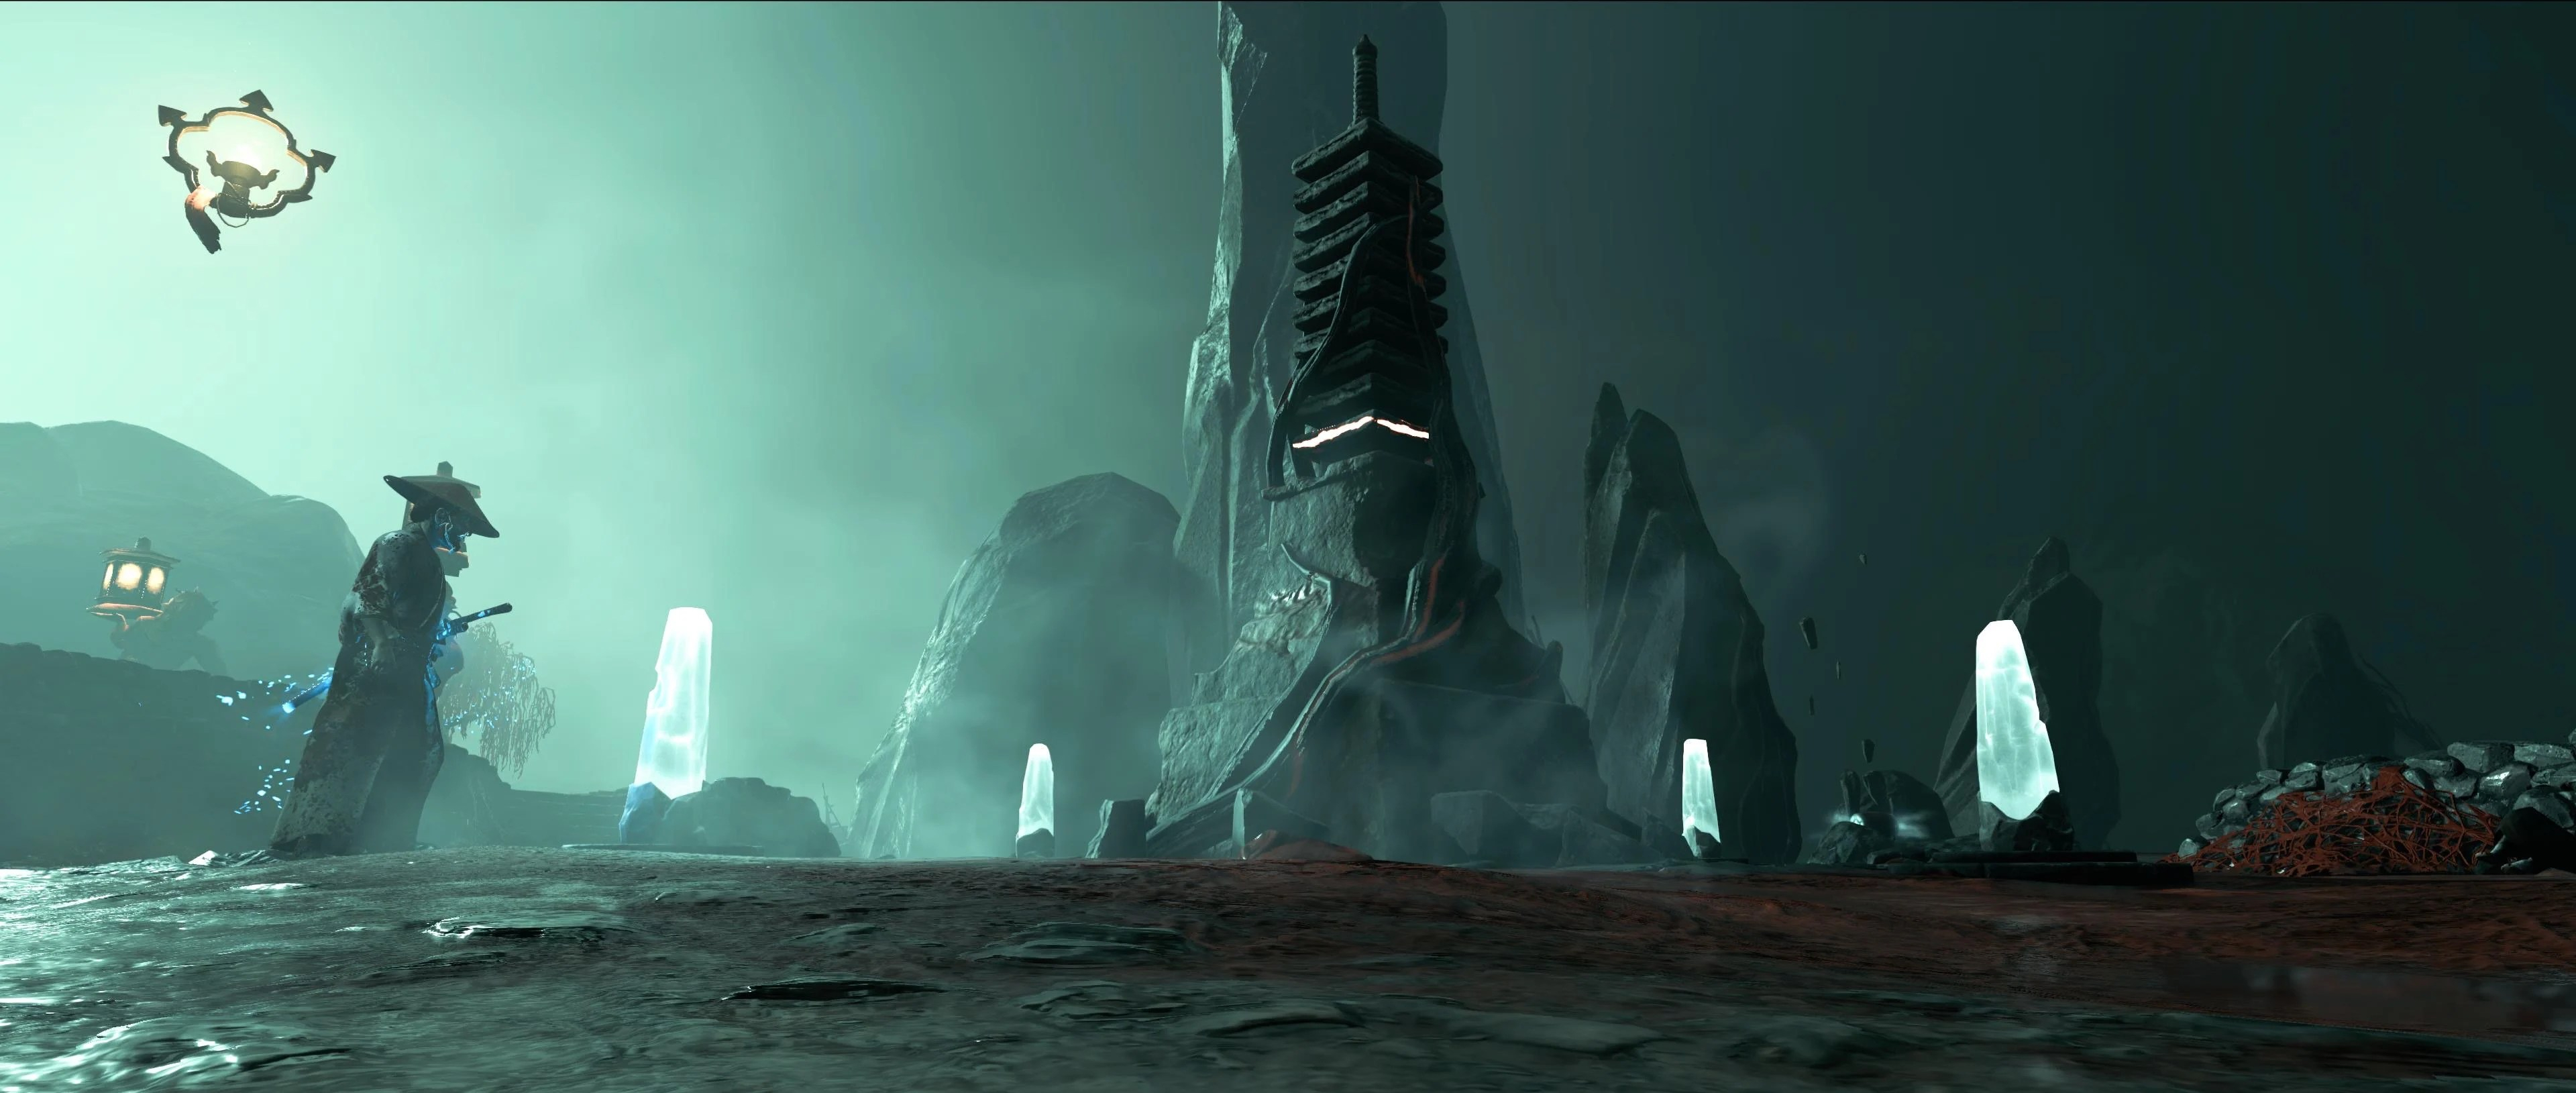
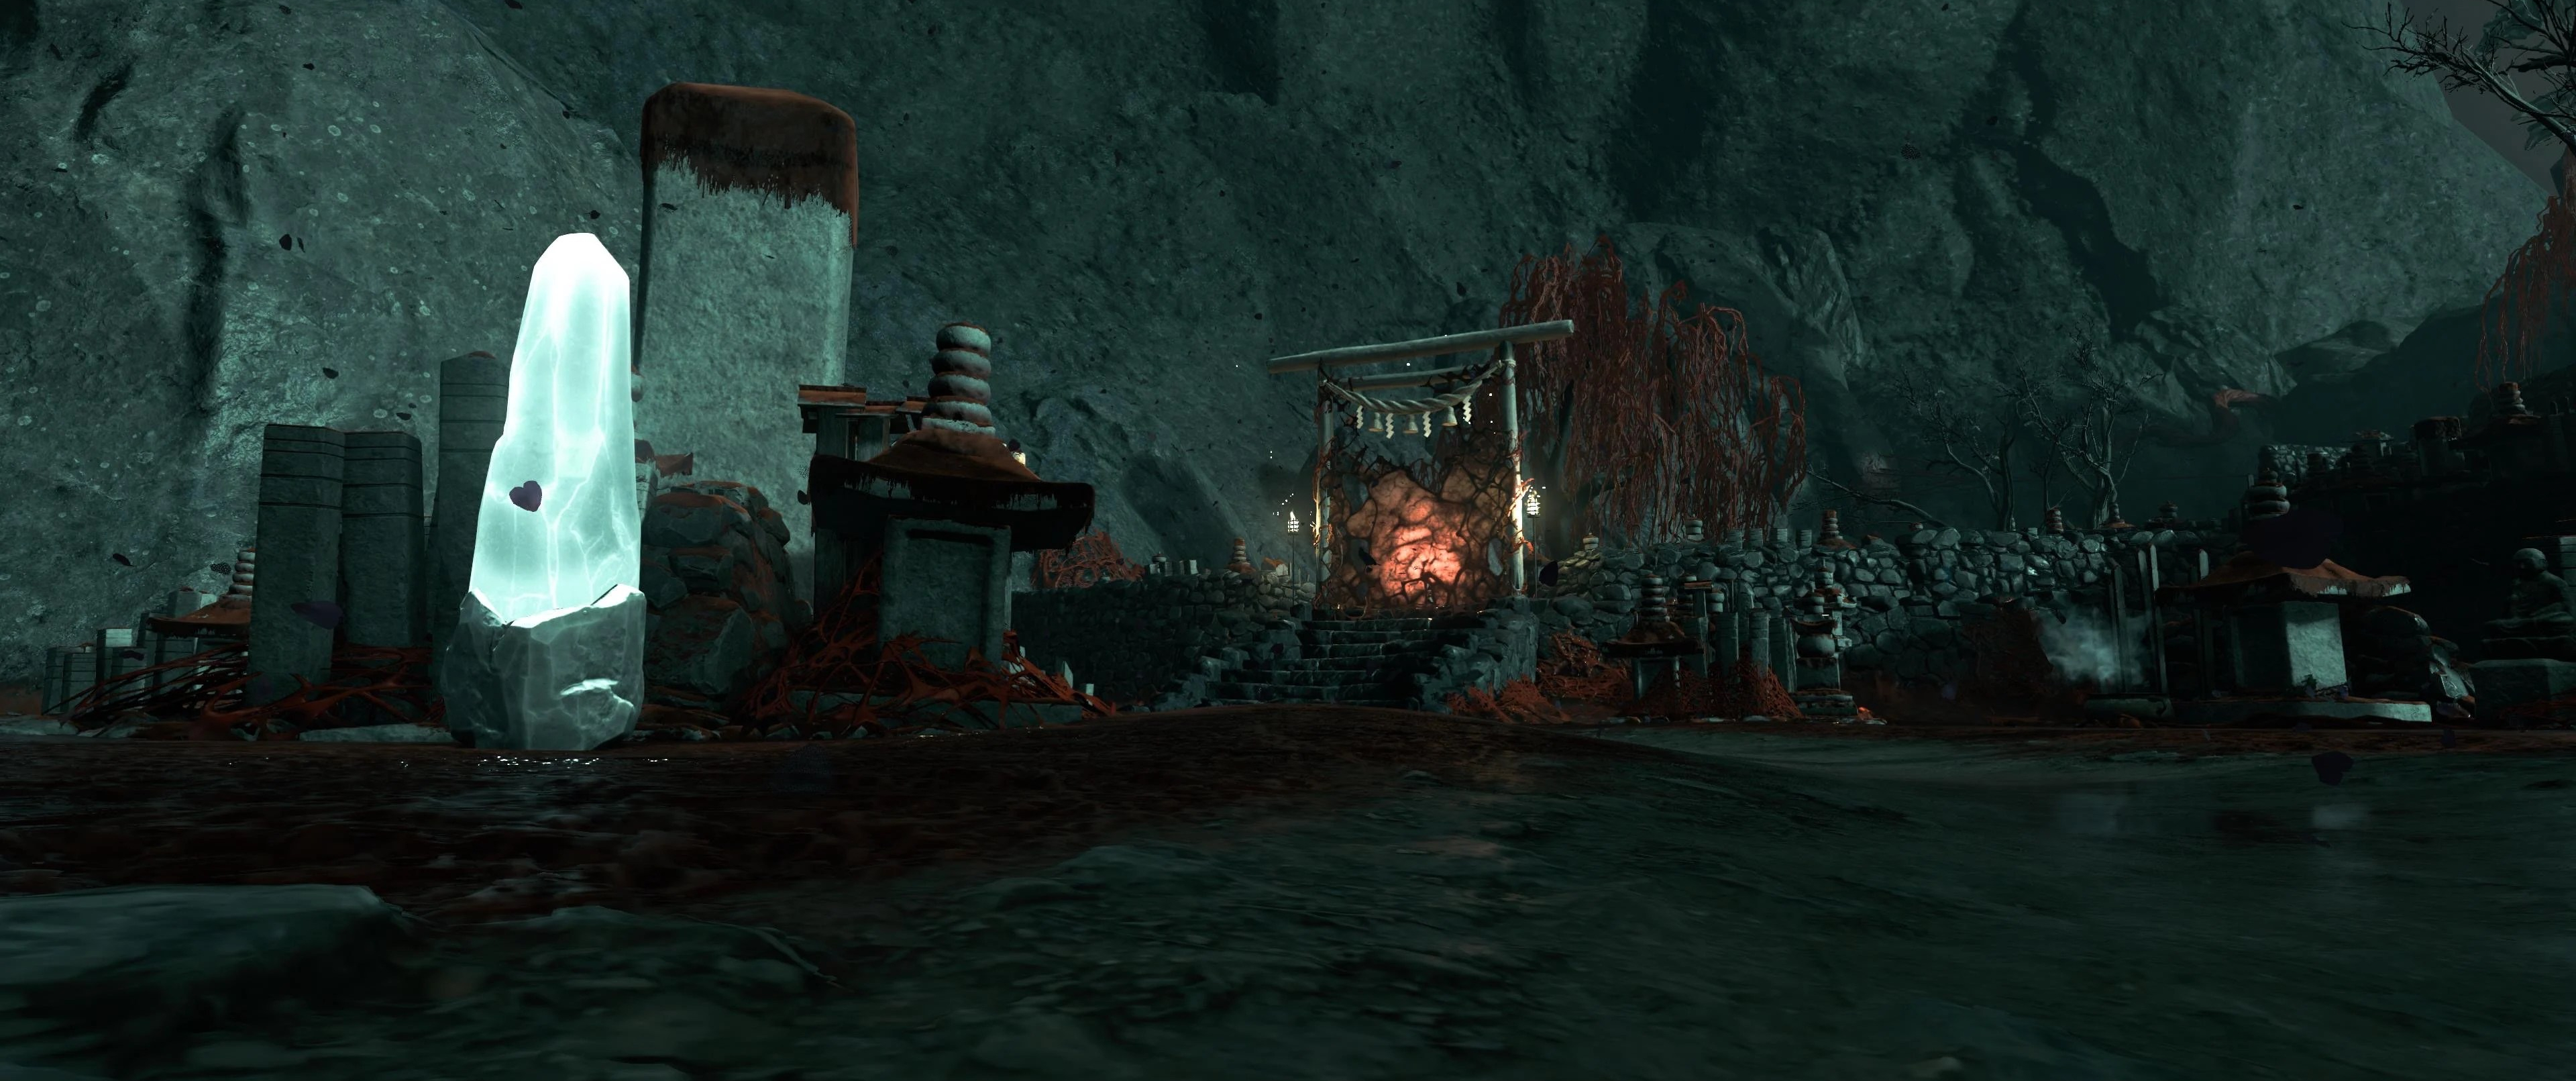
Once you spawn in, you follow a path filled with enemies. This sets the tone of the raid. There are captains an crows waiting for you to continue. You don’t have to kill these enemies! You can run on by and tank the hits! Once you run the stairs past the third crow, you can throw down a smoke bomb and continue running, they won’t follow you! Eventually you’ll come up to a point where you’ll see three attunement totems.
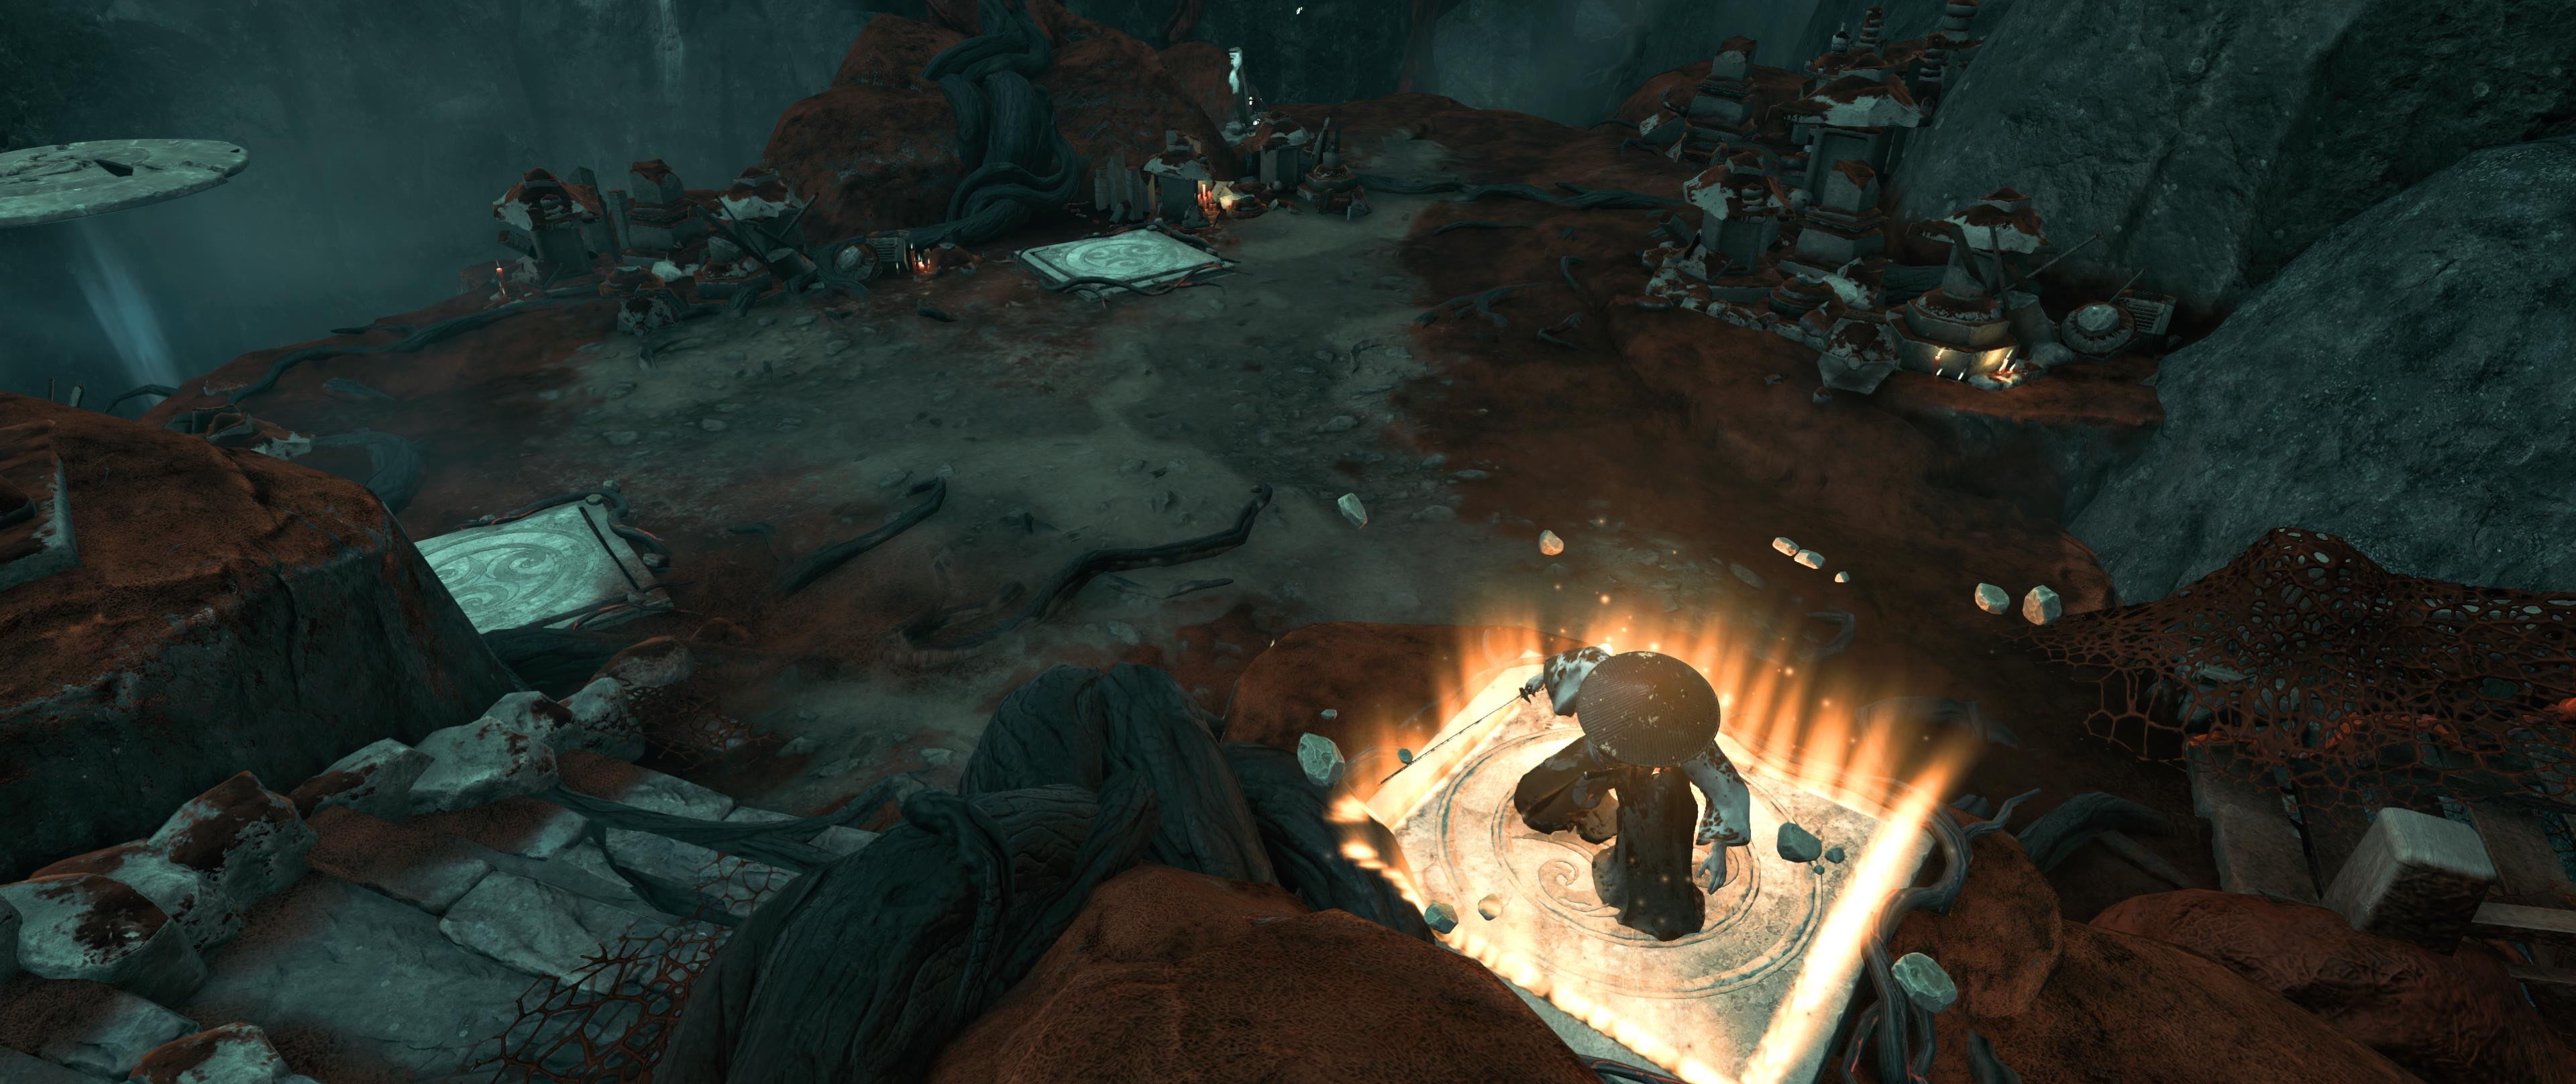
The first test
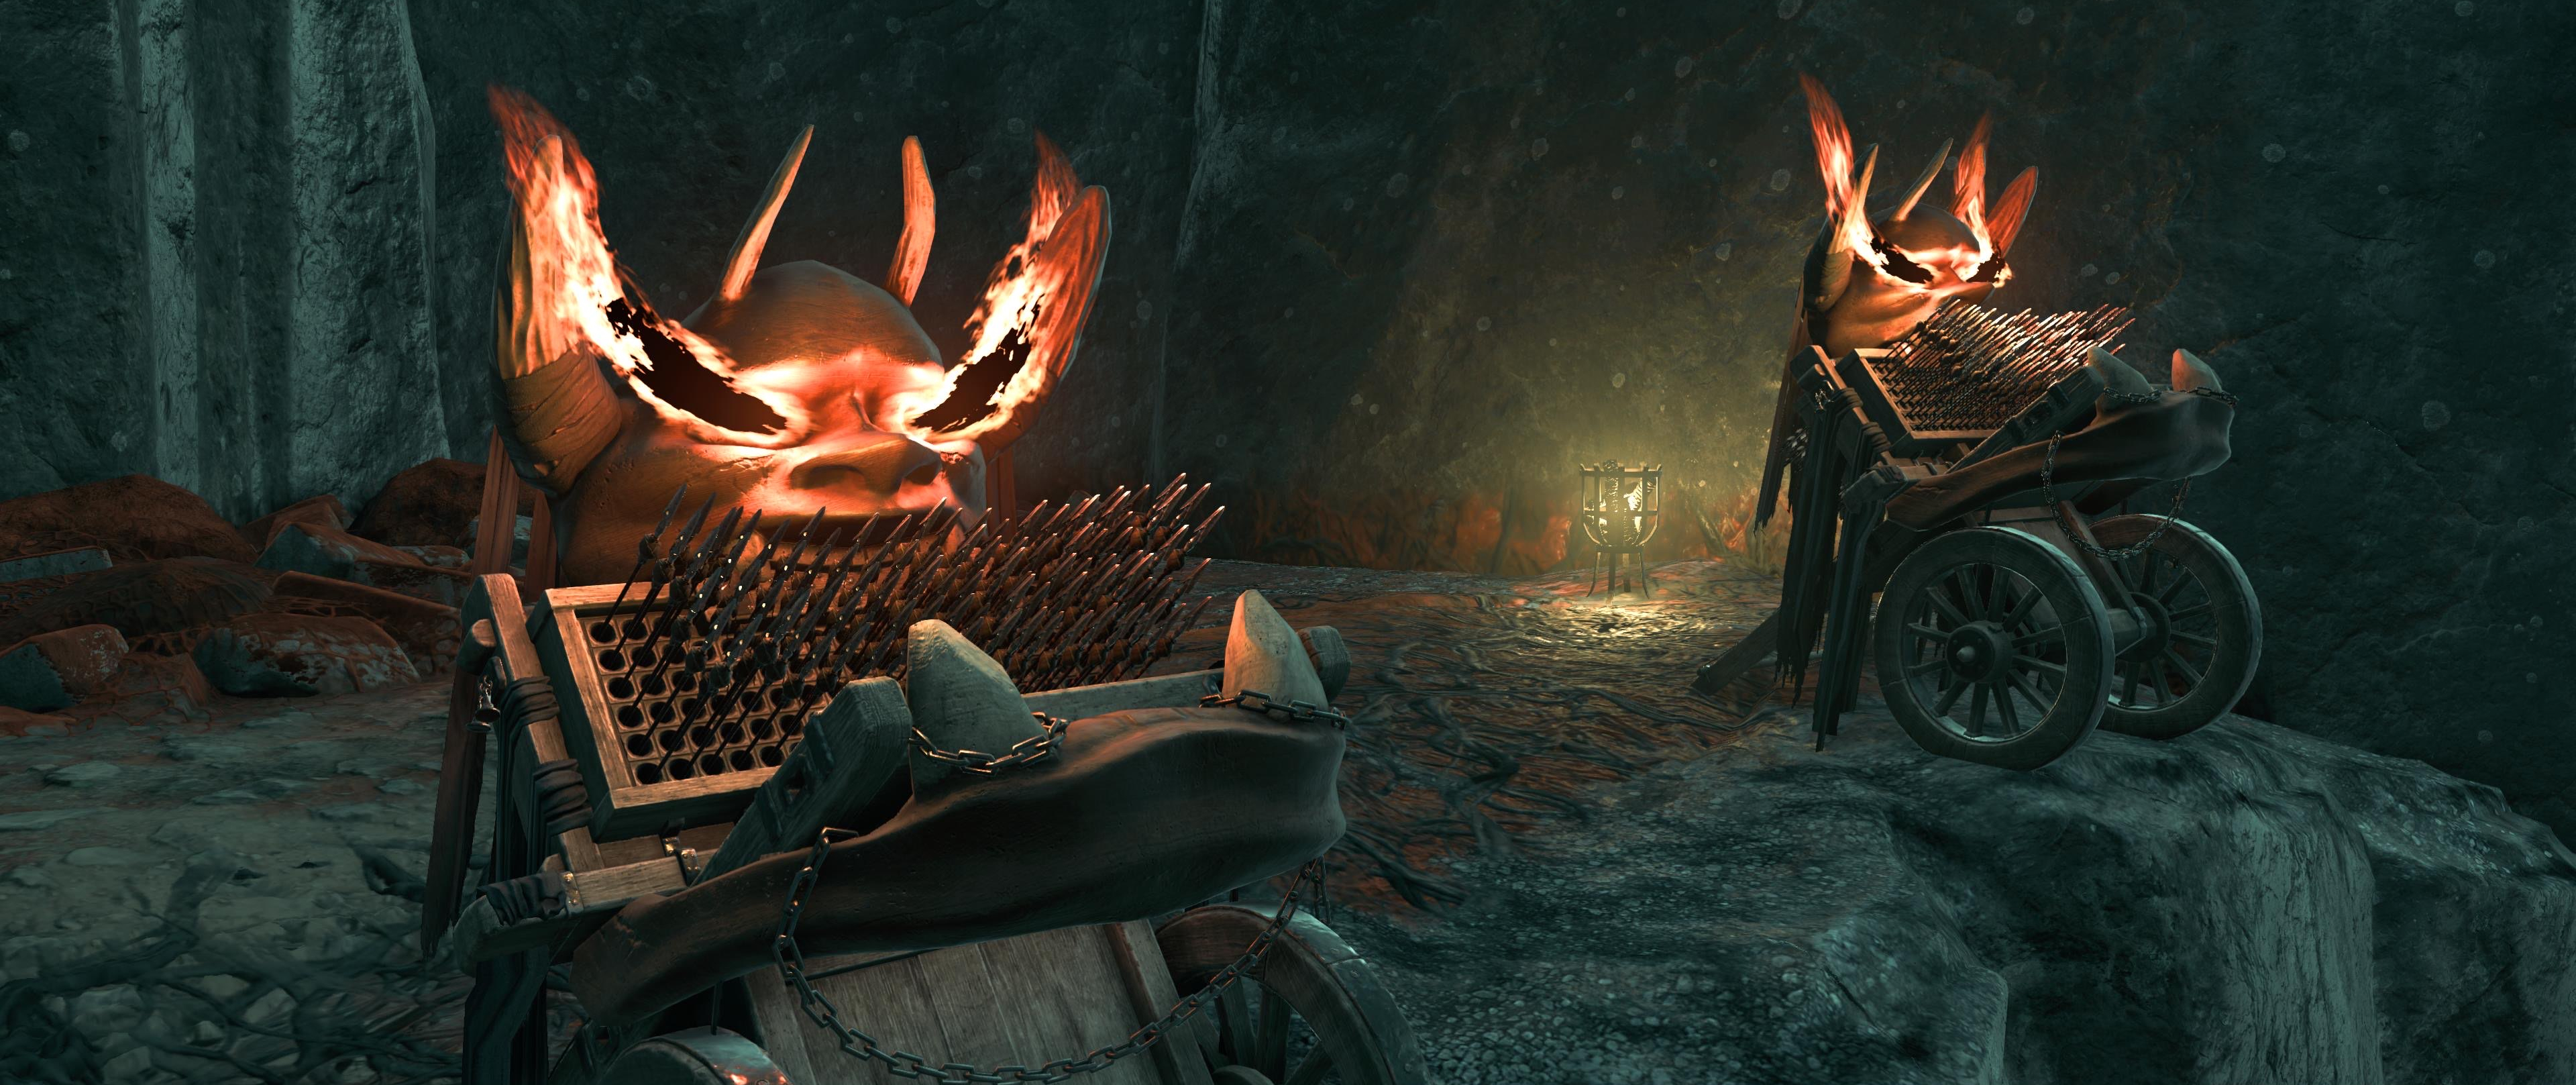
You are now at the first test; The Chasm of the Buried. When you’re at the attunements, you’ll have to decide who is taking which color. It’s important that the person without a color can communicate because they are the only one who can see which platform is which. For later it’s also important that they have a long ranged weapon like a bow.
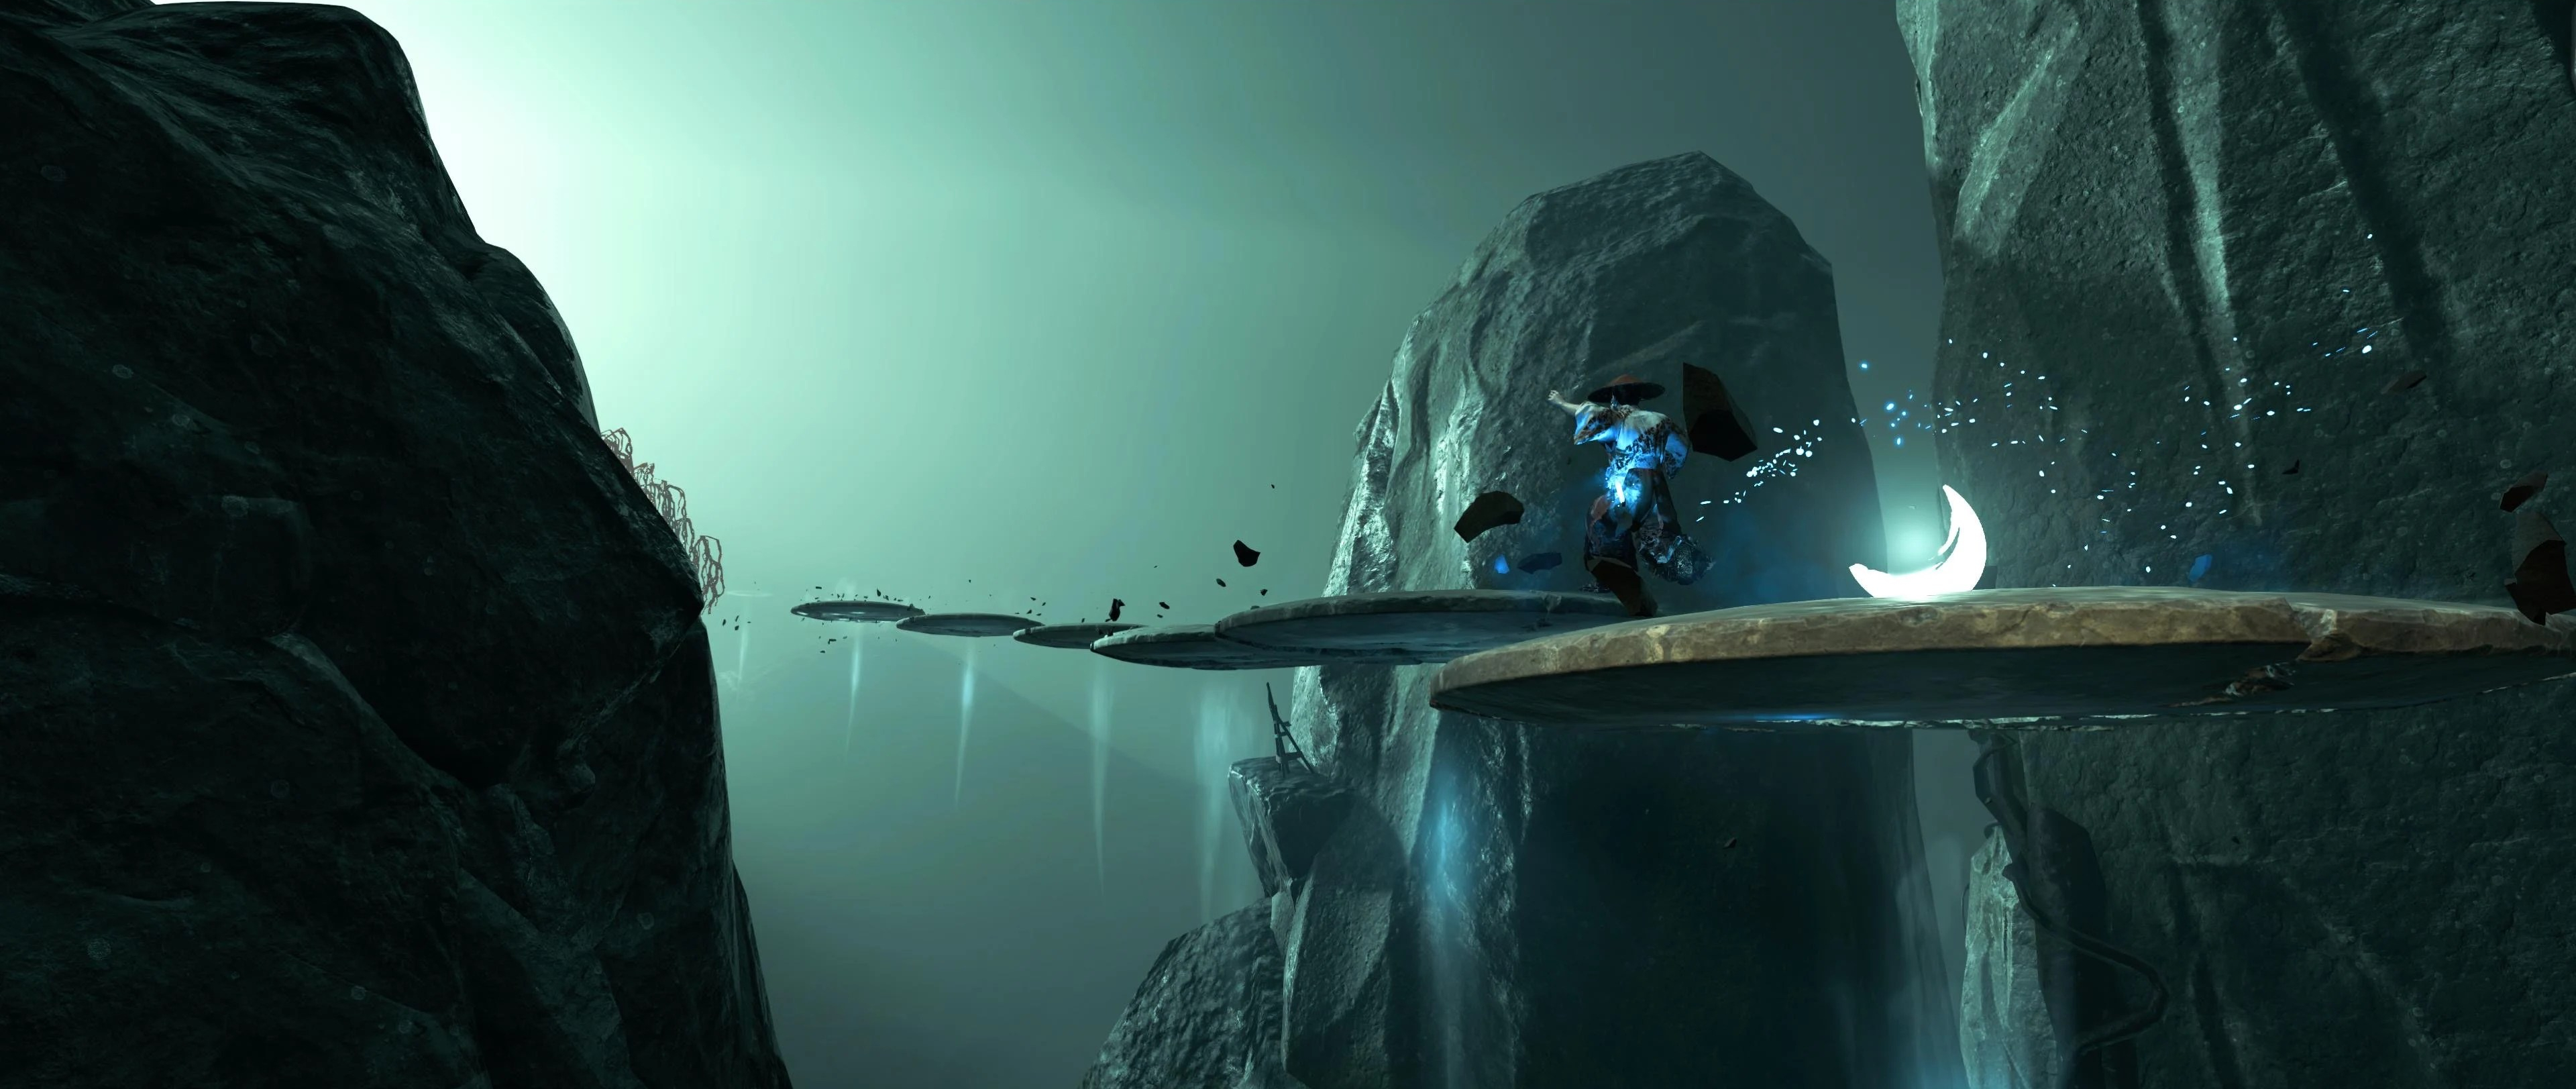
The Chasm of the Buried Begins
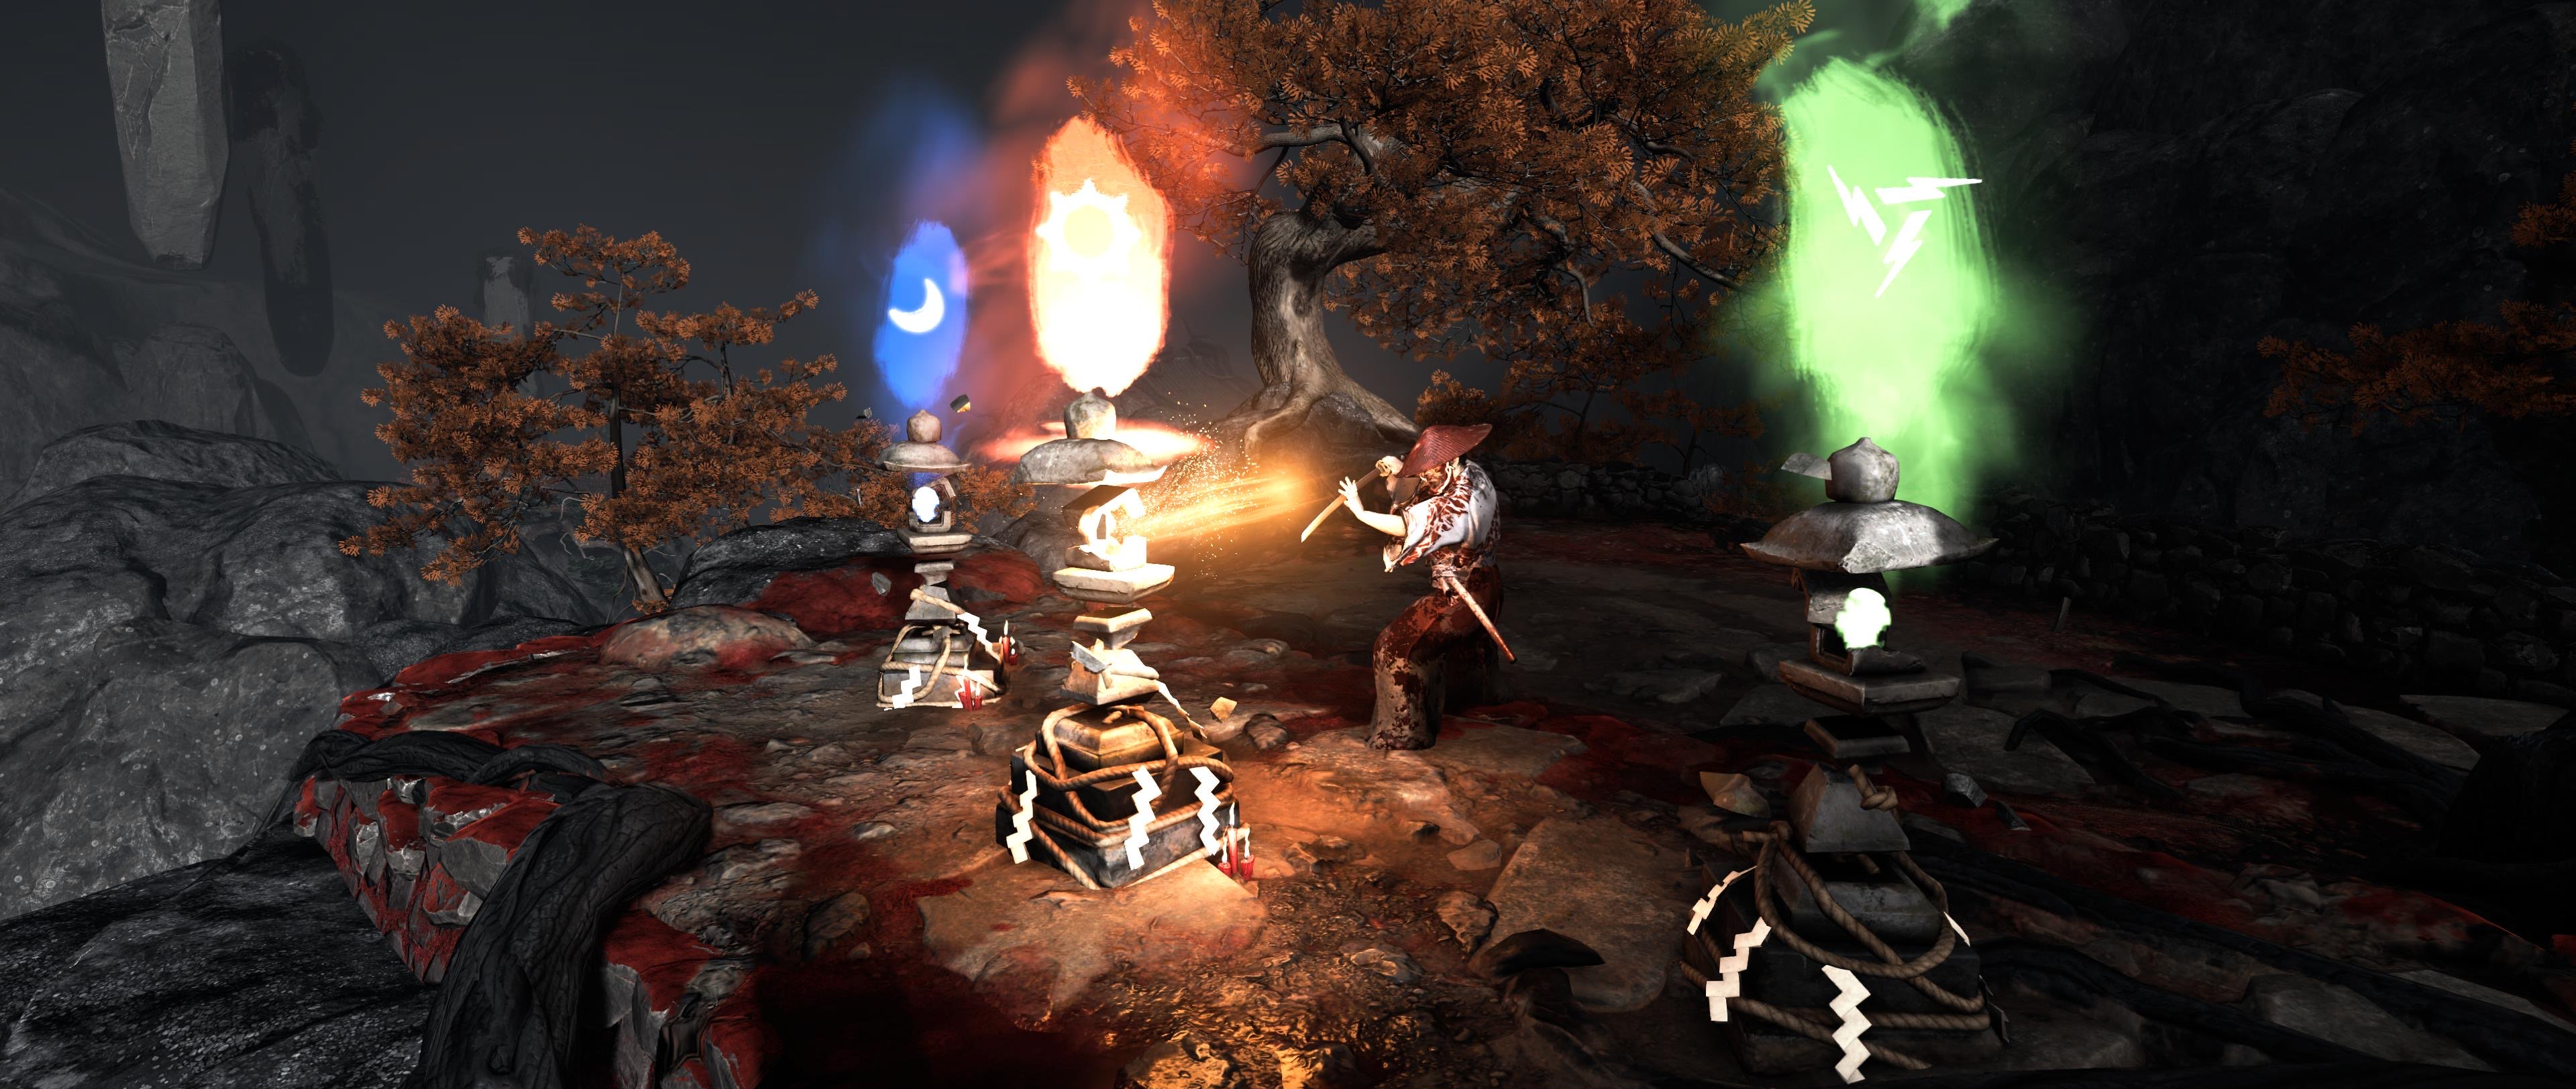
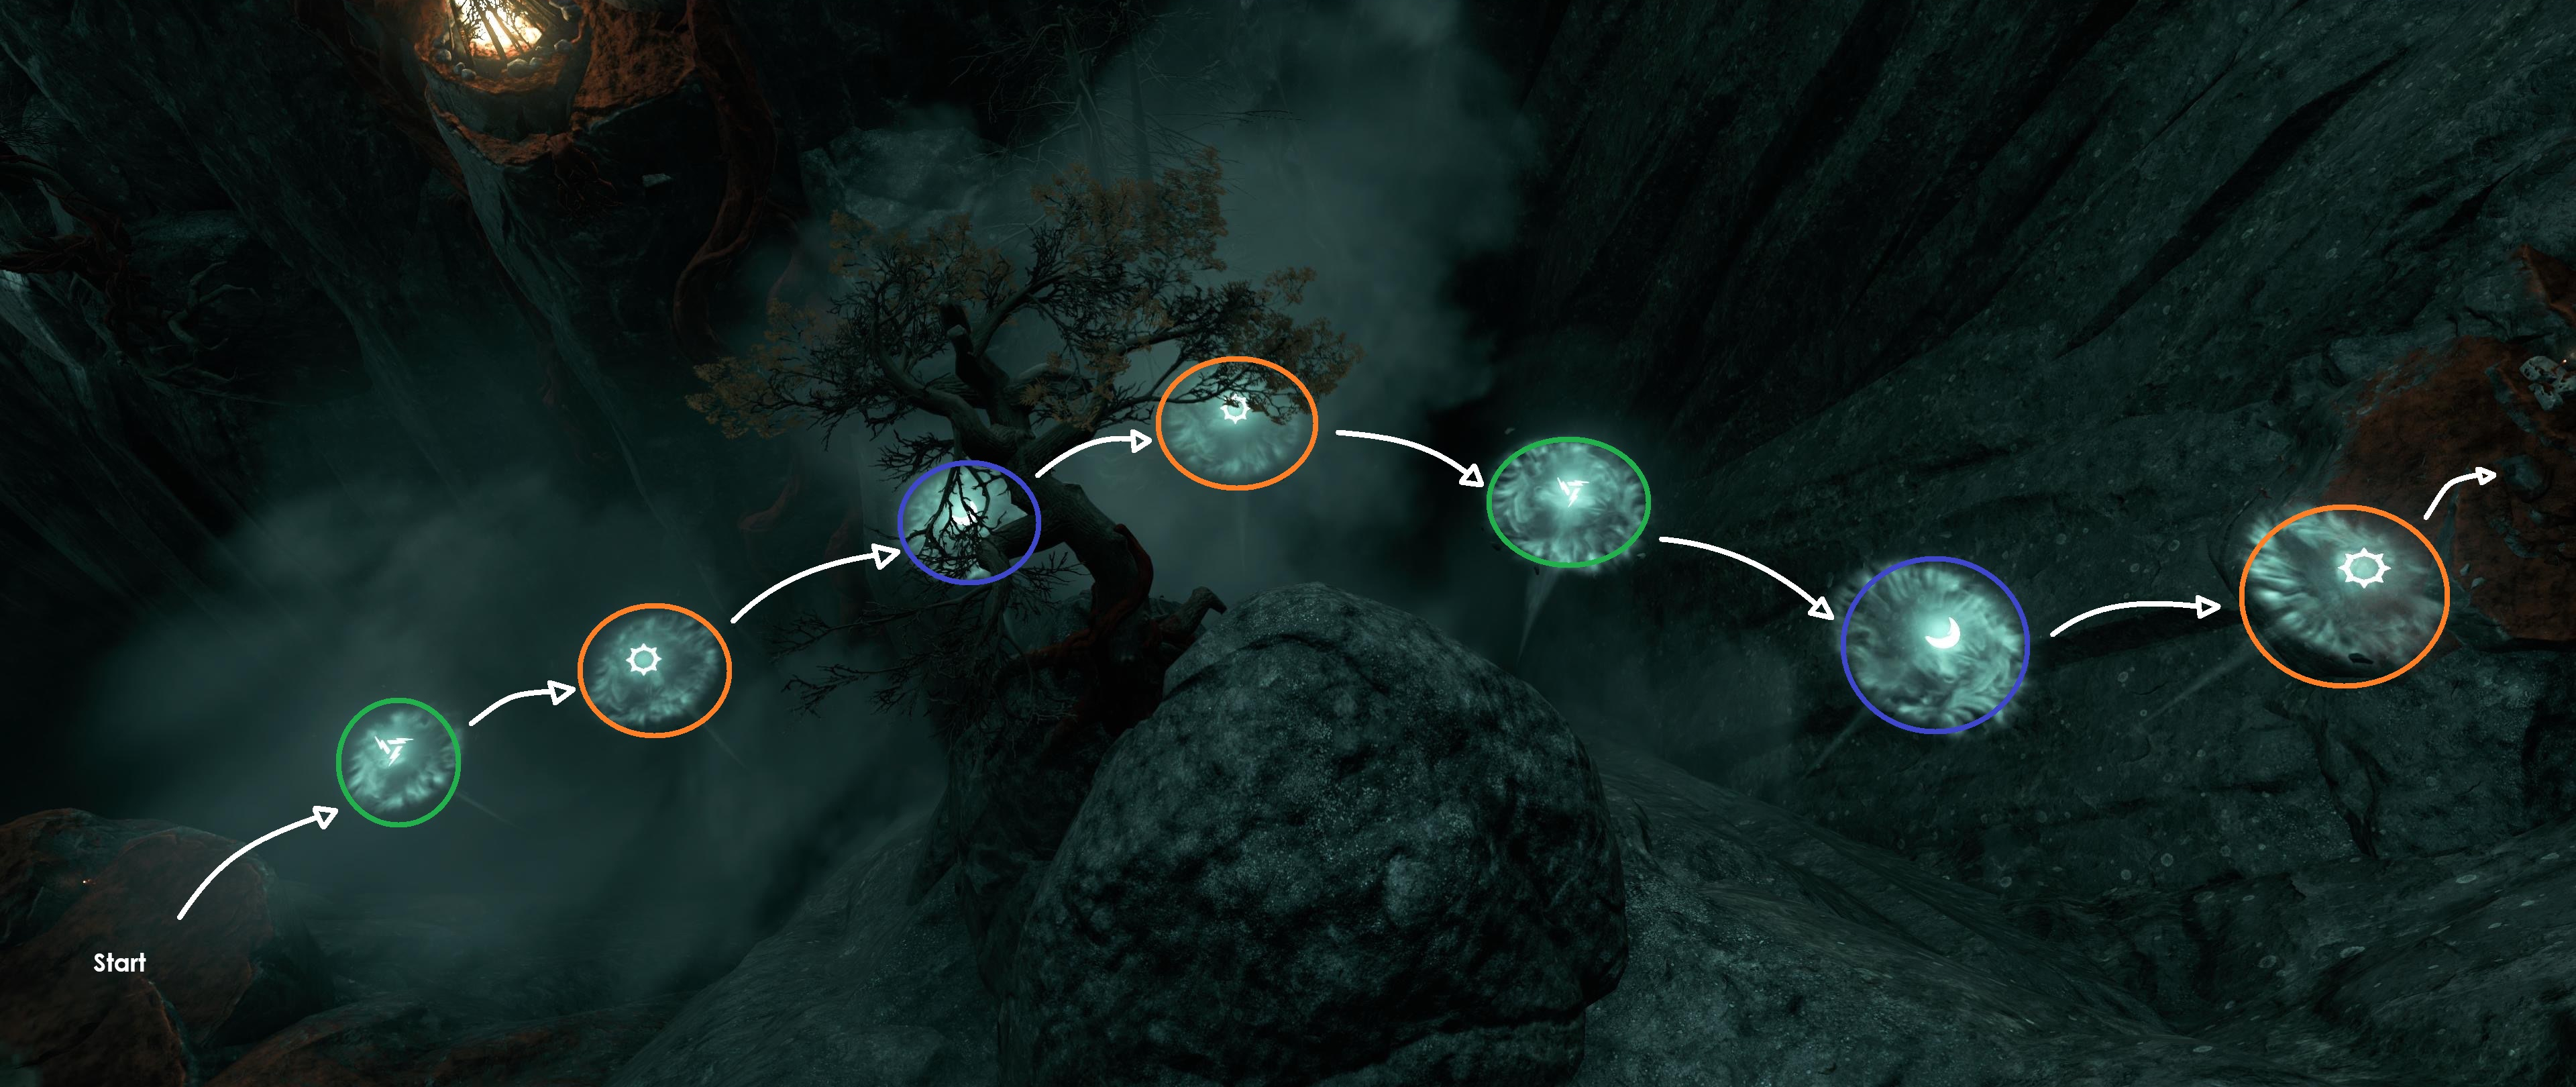
When each person has their attunement, the first jumping puzzle begins. Because only the person without a color can see which is next, it’s good to listen to them clearly. The platforms are marked with symbols, they are:
Sun = Orange
Moon = Blue
Lightning Triangle = Green

The Chasm Continues
After the first puzzle you’ll arrive at a little island with some enemies, deal with them and you have the option to jump on a blue platform to the first chest. Make sure the first person to jump on the platform has the blue attunement! When you’re done, have one person with a color stand on the three buttons on the island. Platforms will appear! The person without the color climbs the platforms. When they’re up there, there will be another button they can stand on. This will make more colored platforms appear.


More Jumps?
The person without a color on the button must stay on the button in order for the platforms to stay. Have them call out which person needs to jump first and you’ll reach another island eventually. Clear out the enemies and you’ll see more buttons. Stand on them and platforms for the solo player appear to join the rest. Not for long though! There are more platforms for them to continue on alone. Be careful of strong enemies that spawn and Eyes of Iyo, you can’t easily be saved!

Even more jumps! Now with Eyes!
The solo player eventually reaches another button they can stand on to spawn more platforms. These are again coordinated jumps where the solo player has to call out who jumps first. Be careful of the Eyes and have the solo player shoot you free when you get stuck! There is a jump where you need to time it properly so be mindful of that!


And some more…
After this you’ll get to a small island with more buttons, you know the deal, stand on the buttons to let the solo player cross, they’ll continue alone and climb more platforms up. This is where they’ll find three buttons, figure out which one activates the platforms closest to the group of three. Call out the colors and continue on.
Nearly there!
After the group of three reach the next safe ground, the solo player has to switch to a different button to spawn more platforms, call out the colors and continue, this one has a grapple so be aware! Have the person with the color platform that is right after the grapple go first!

Final ones…. For now..
Now the three players have to dodge some eyes and archers and run along. The solo player switches buttons one more time and the group has to do the final coordinated jumps. These are quite difficult since there are 3 jumps you need to time right, they are green to green jumps. But you’ve made it this far, so you can do it!

Breaking the totems
When the three players reach the solo player, grab the crystal and place it in it’s holder. You can breathe again, the Chasm of the Buried is done! In the next area you find three totems, break them to continue on. If you want you can claim the 2nd chest, look around to find it! Once done you can continue to the next trial, the Blood Ritual.

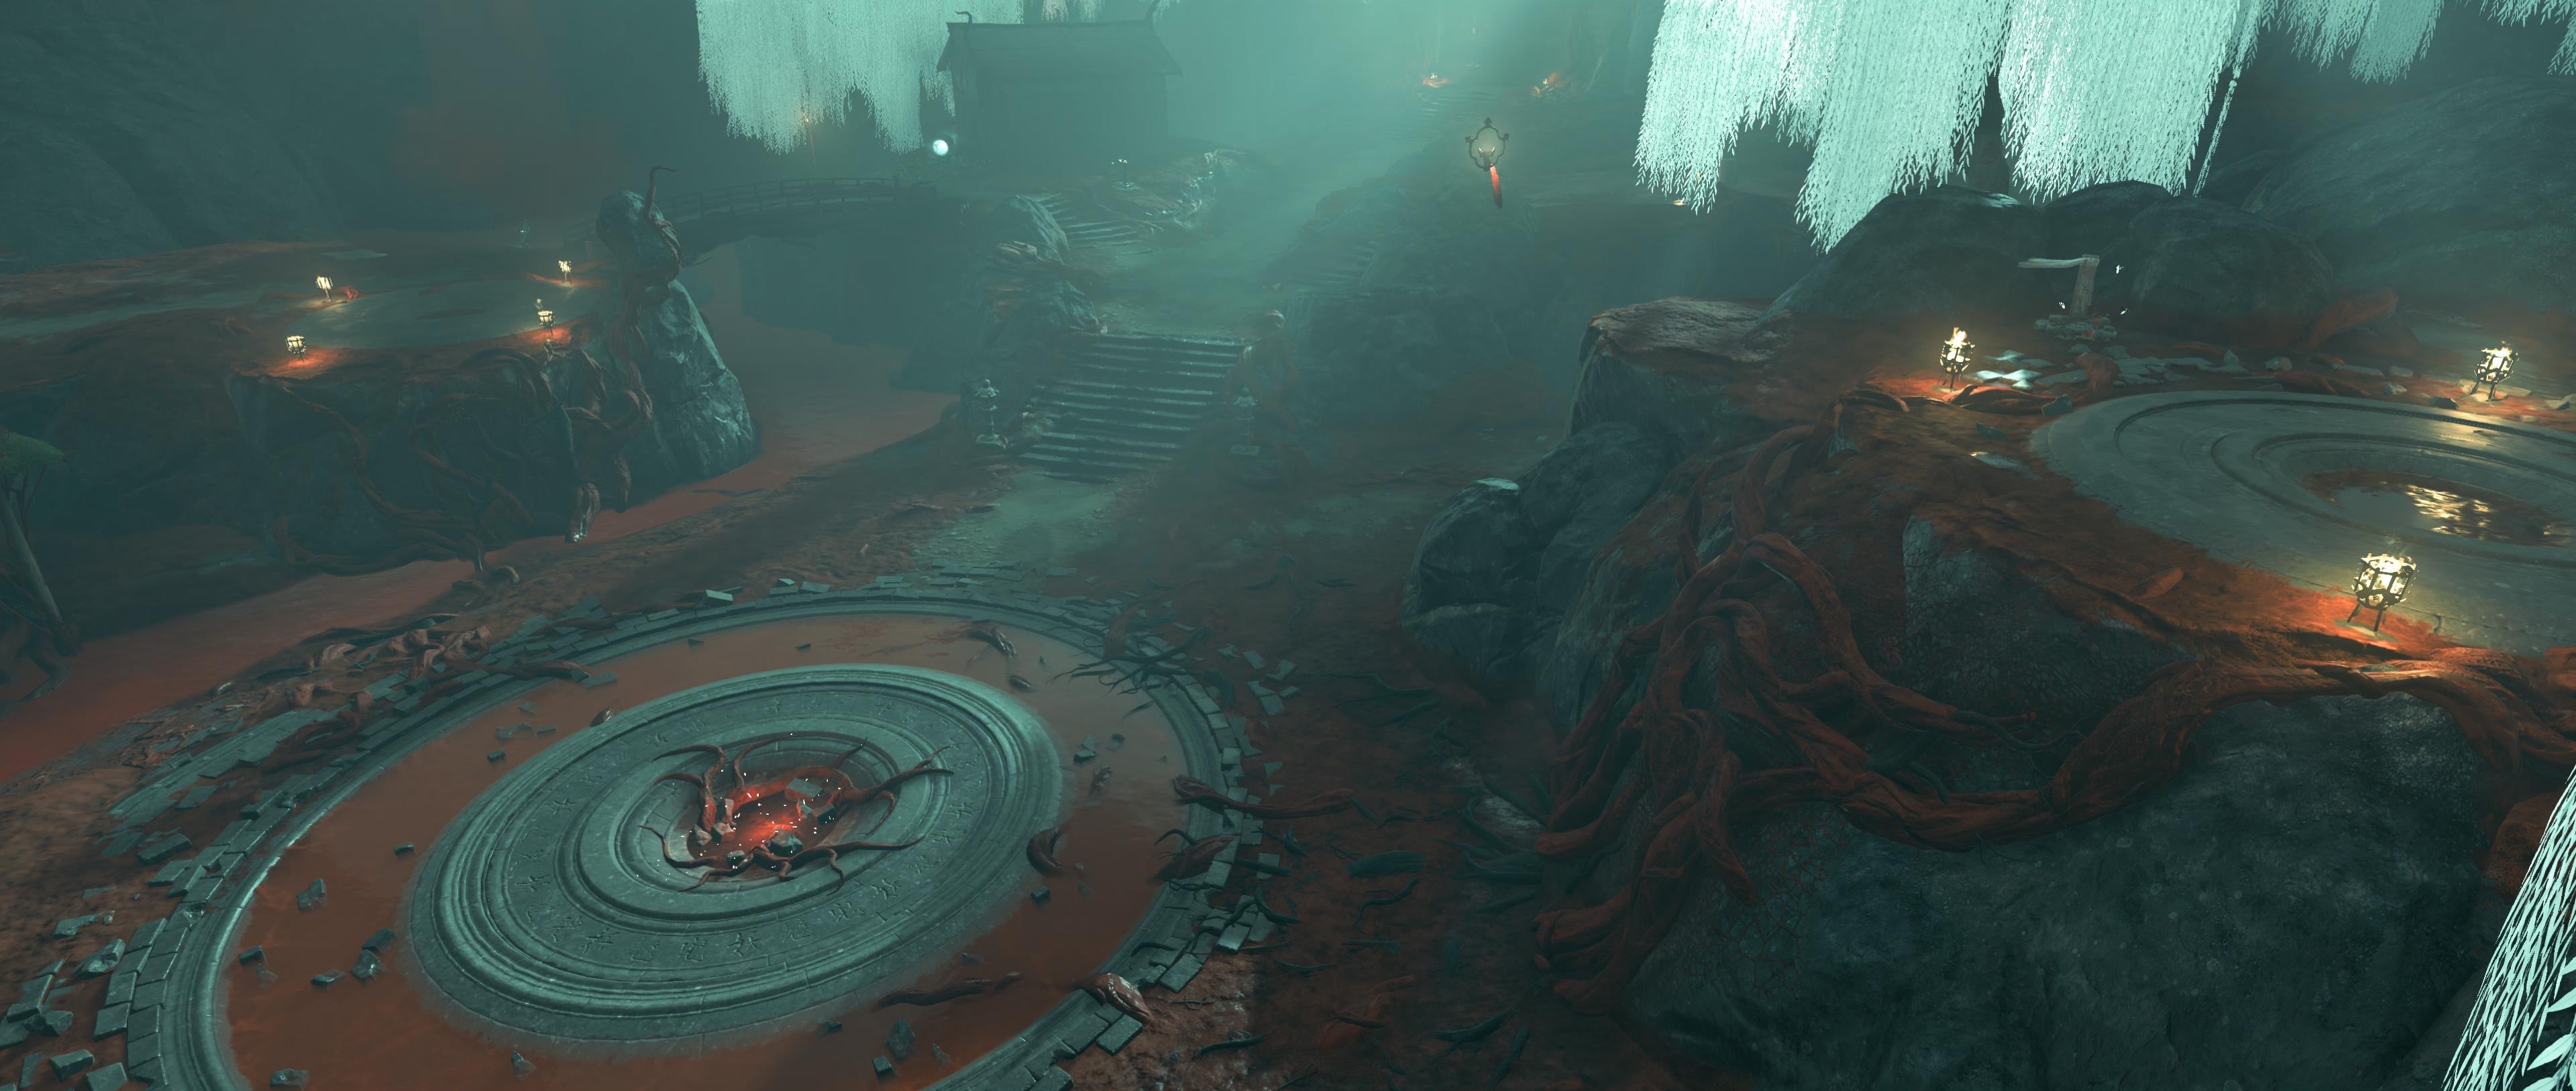
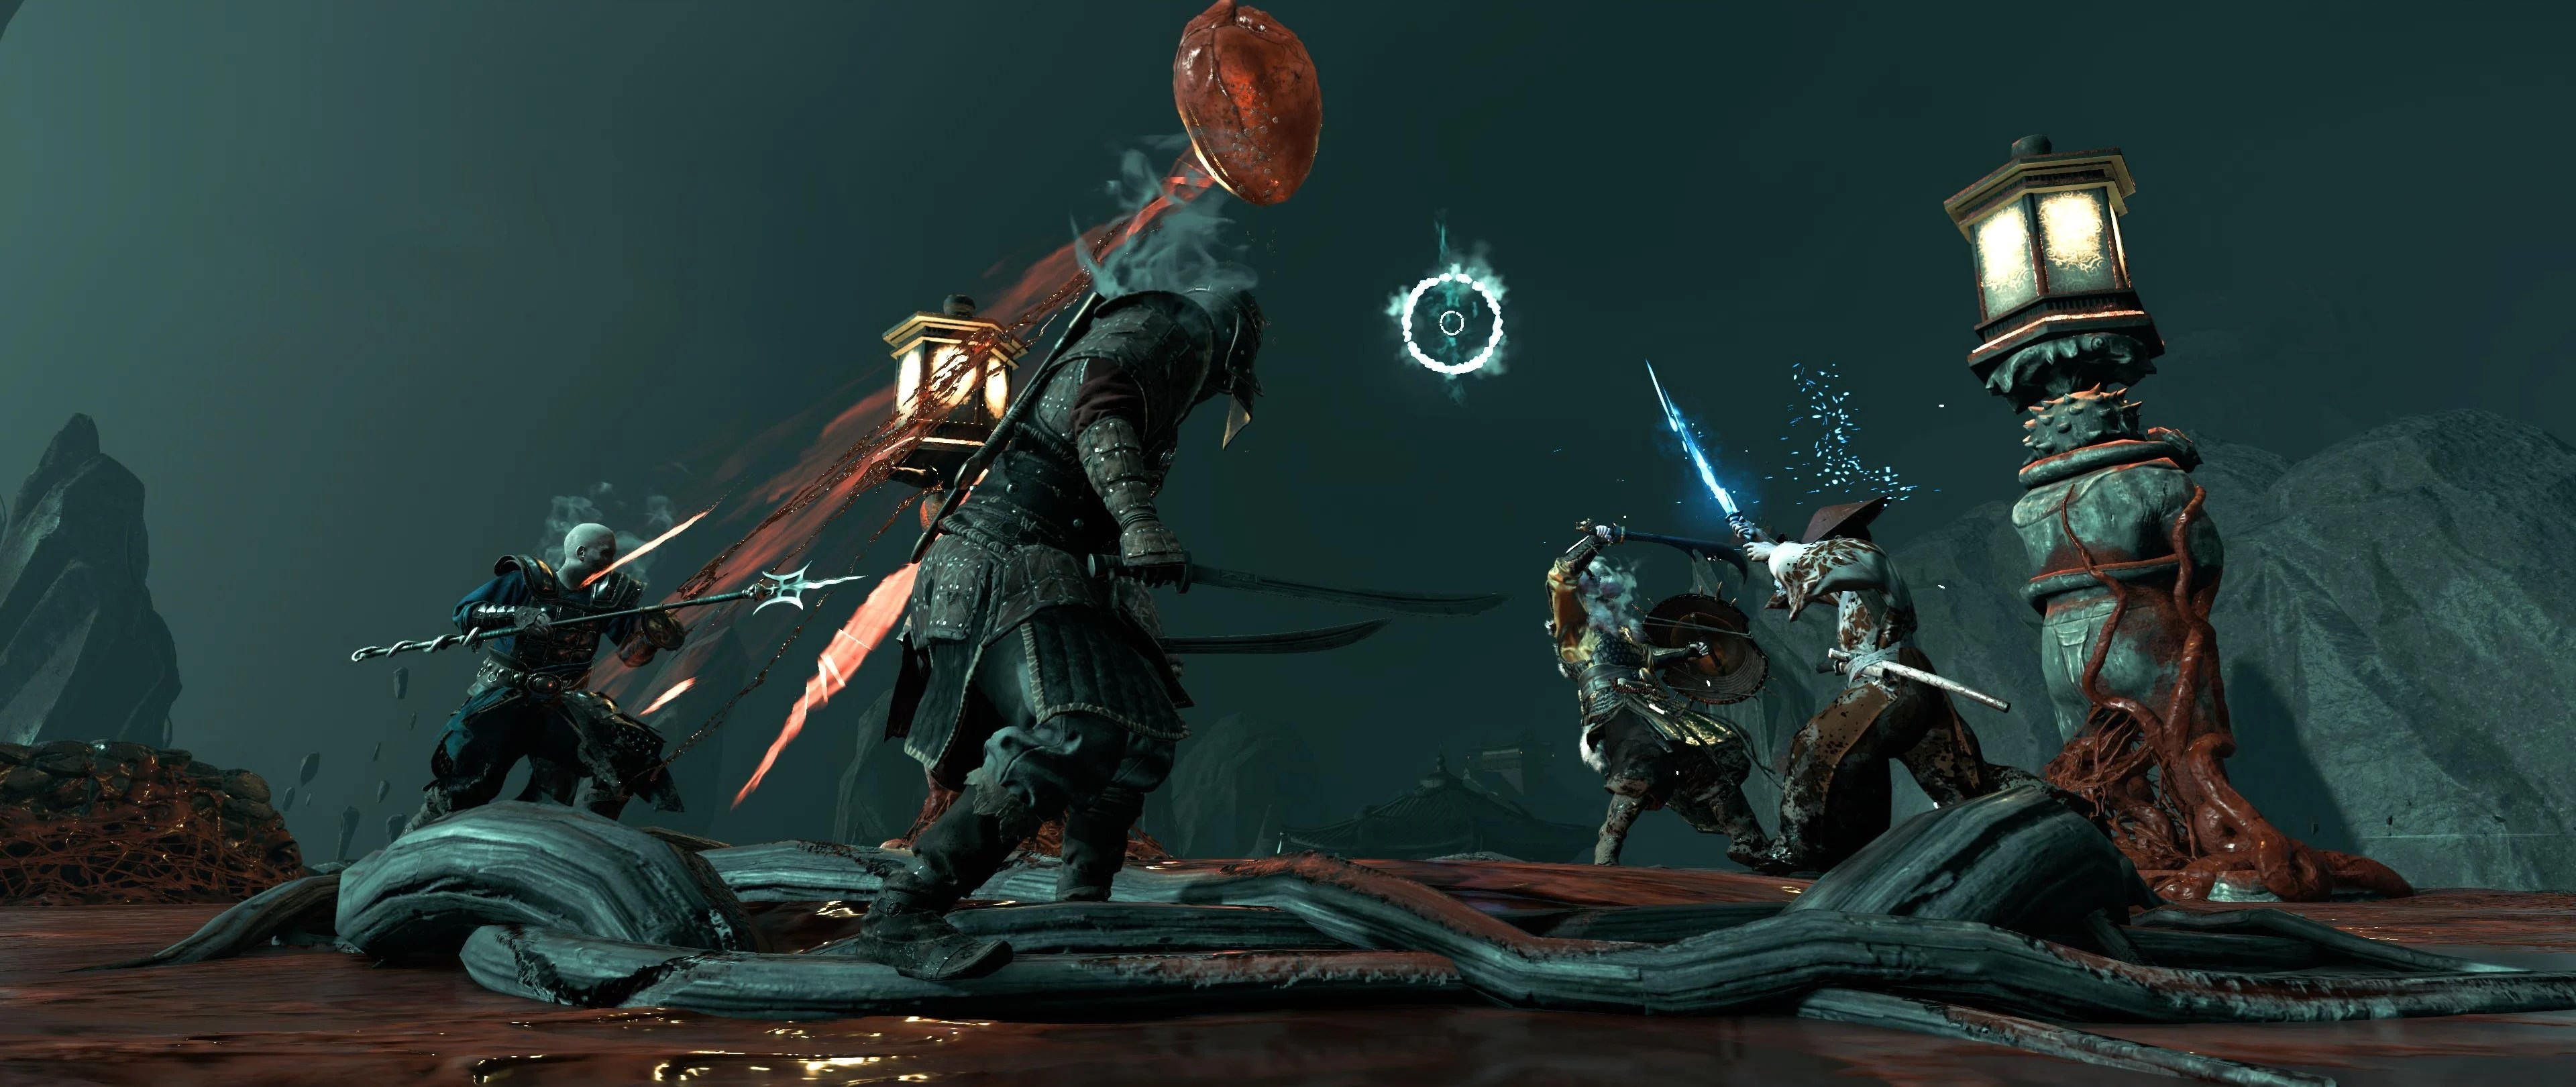
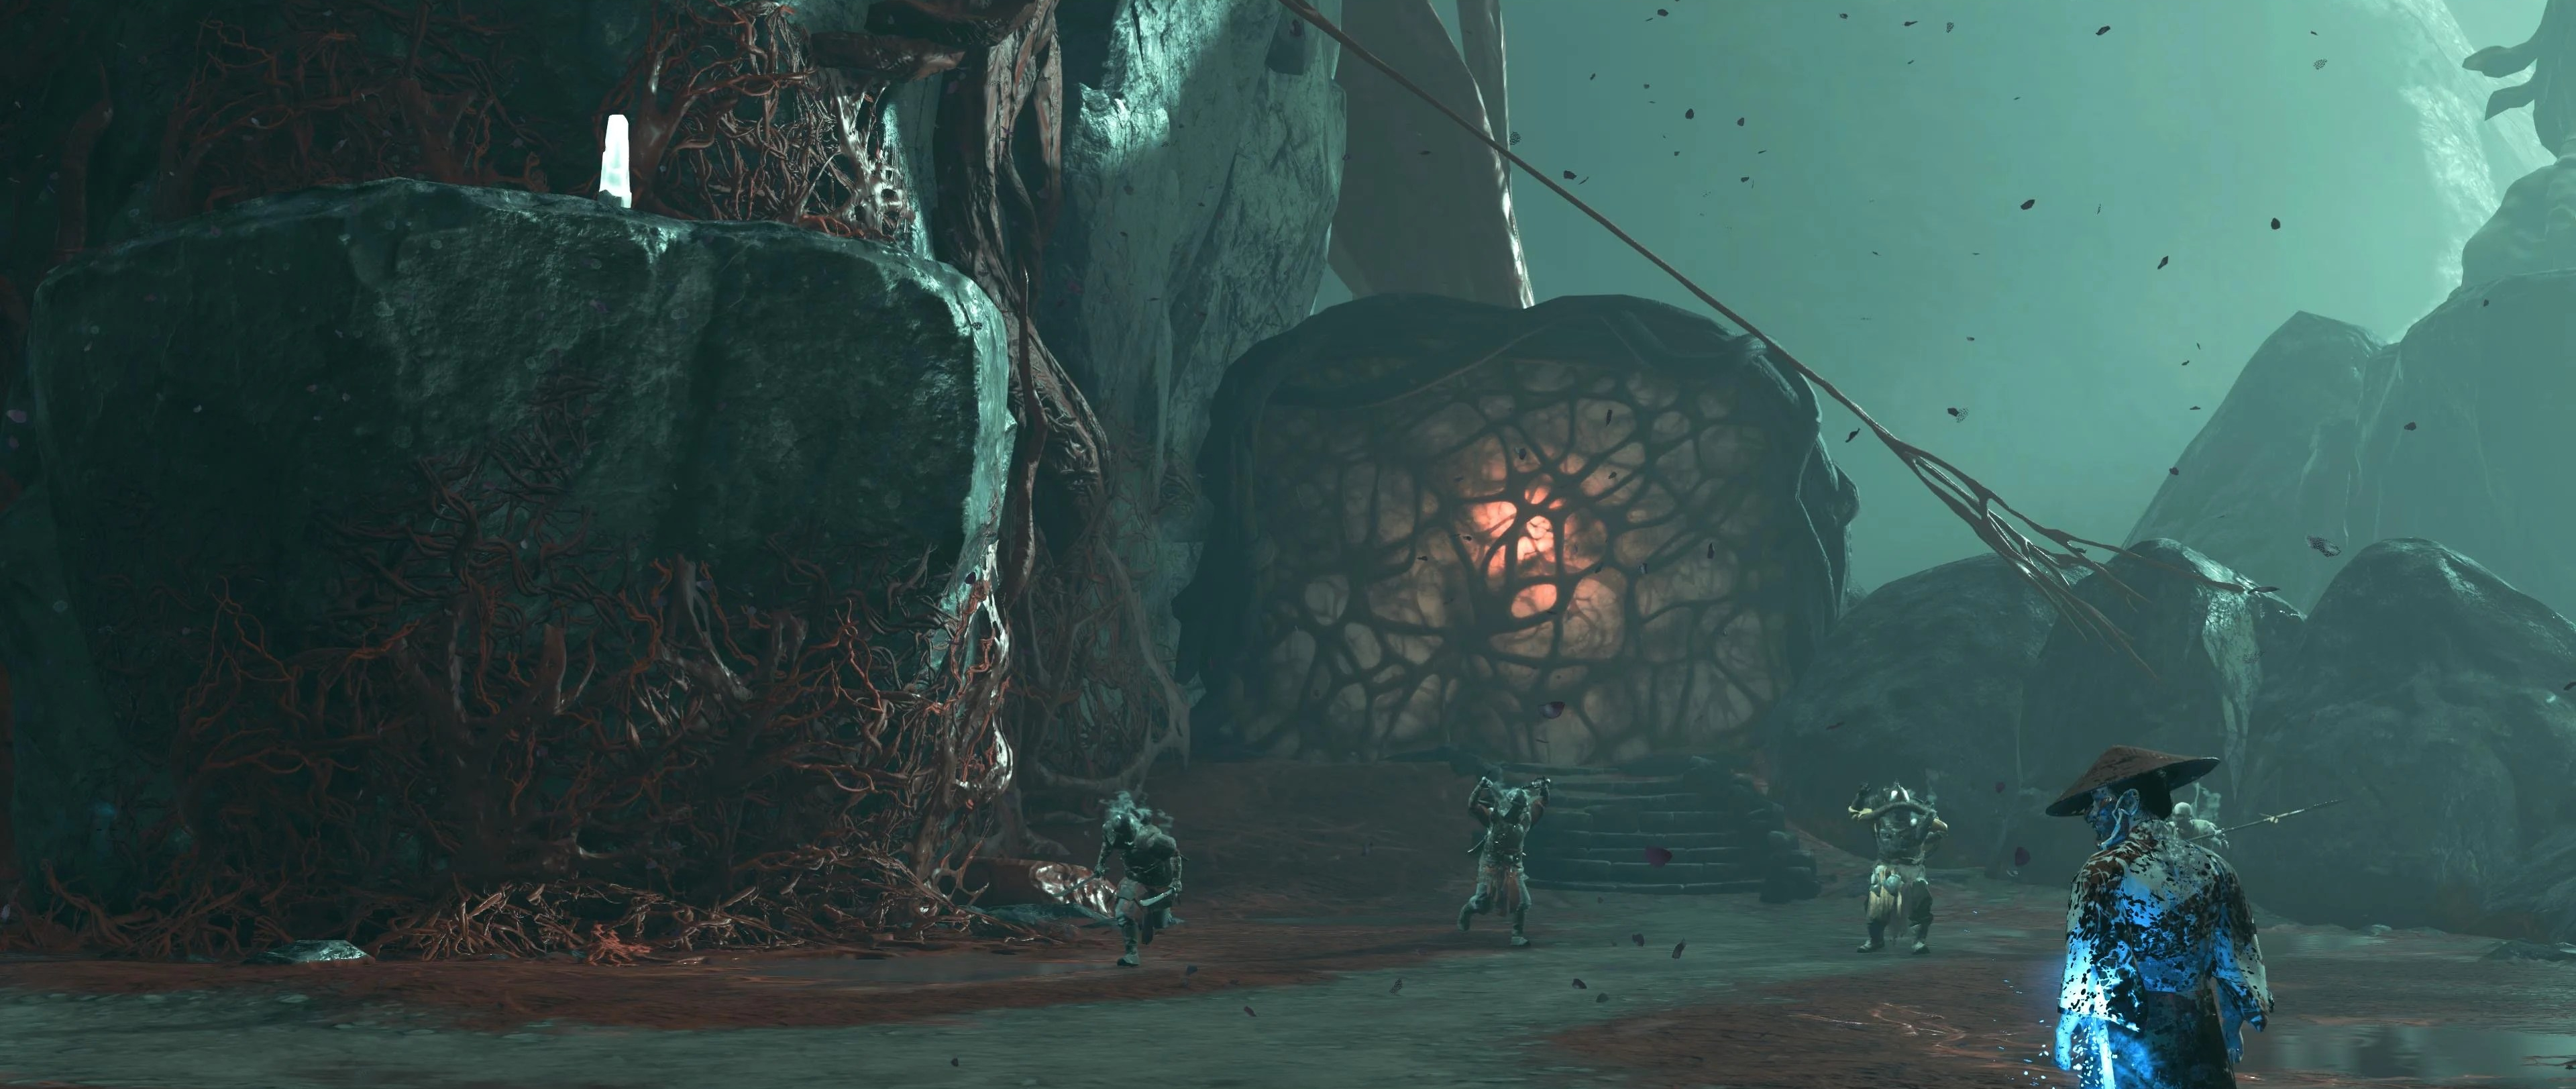
The Blood Ritual
The next challenge is the ritual, start by clearing out the enemies in the area and when you’re ready have two players stand on each of the platforms to the side of the middle to start. The goal is to kill enemies in the middle while two players remain on the sides to keep the ritual active. Be careful though, while you’re in the middle, you’ll gain corruption. If you reach 10, it’s game over.
Opening the door
To get rid of the corruption, switch with the players on the side when you’re around 6 corruption. Keep killing the enemies in the middle until all the symbols around the middle ring are lit up. This will open the door and you can continue. When you’re through the door go right before the grapple and you can find another chest. Continue on an you’ll see a bow that you have to grab.


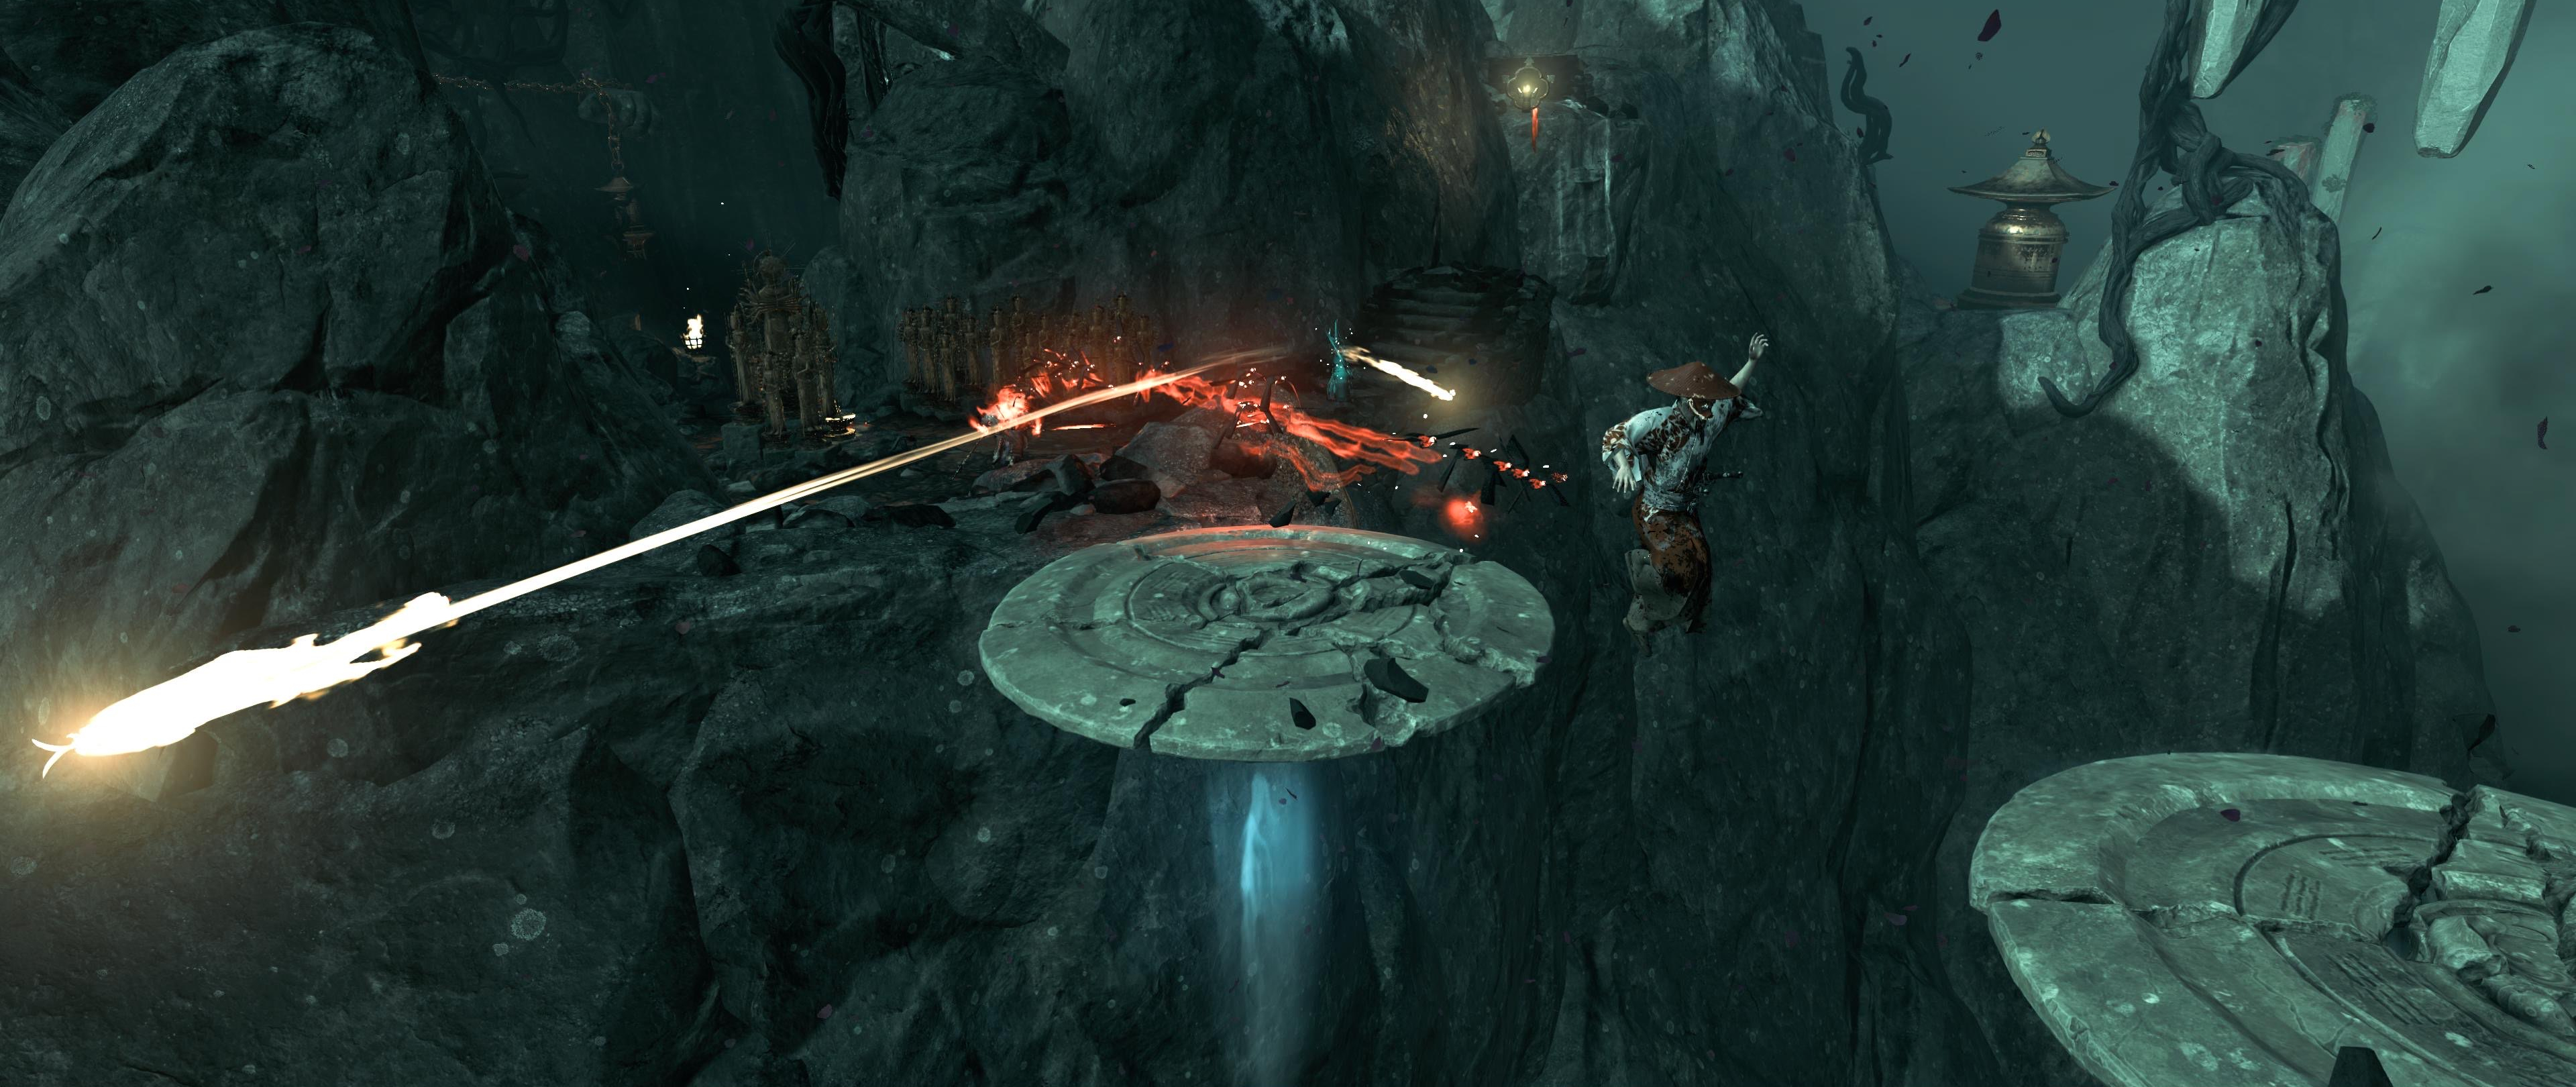
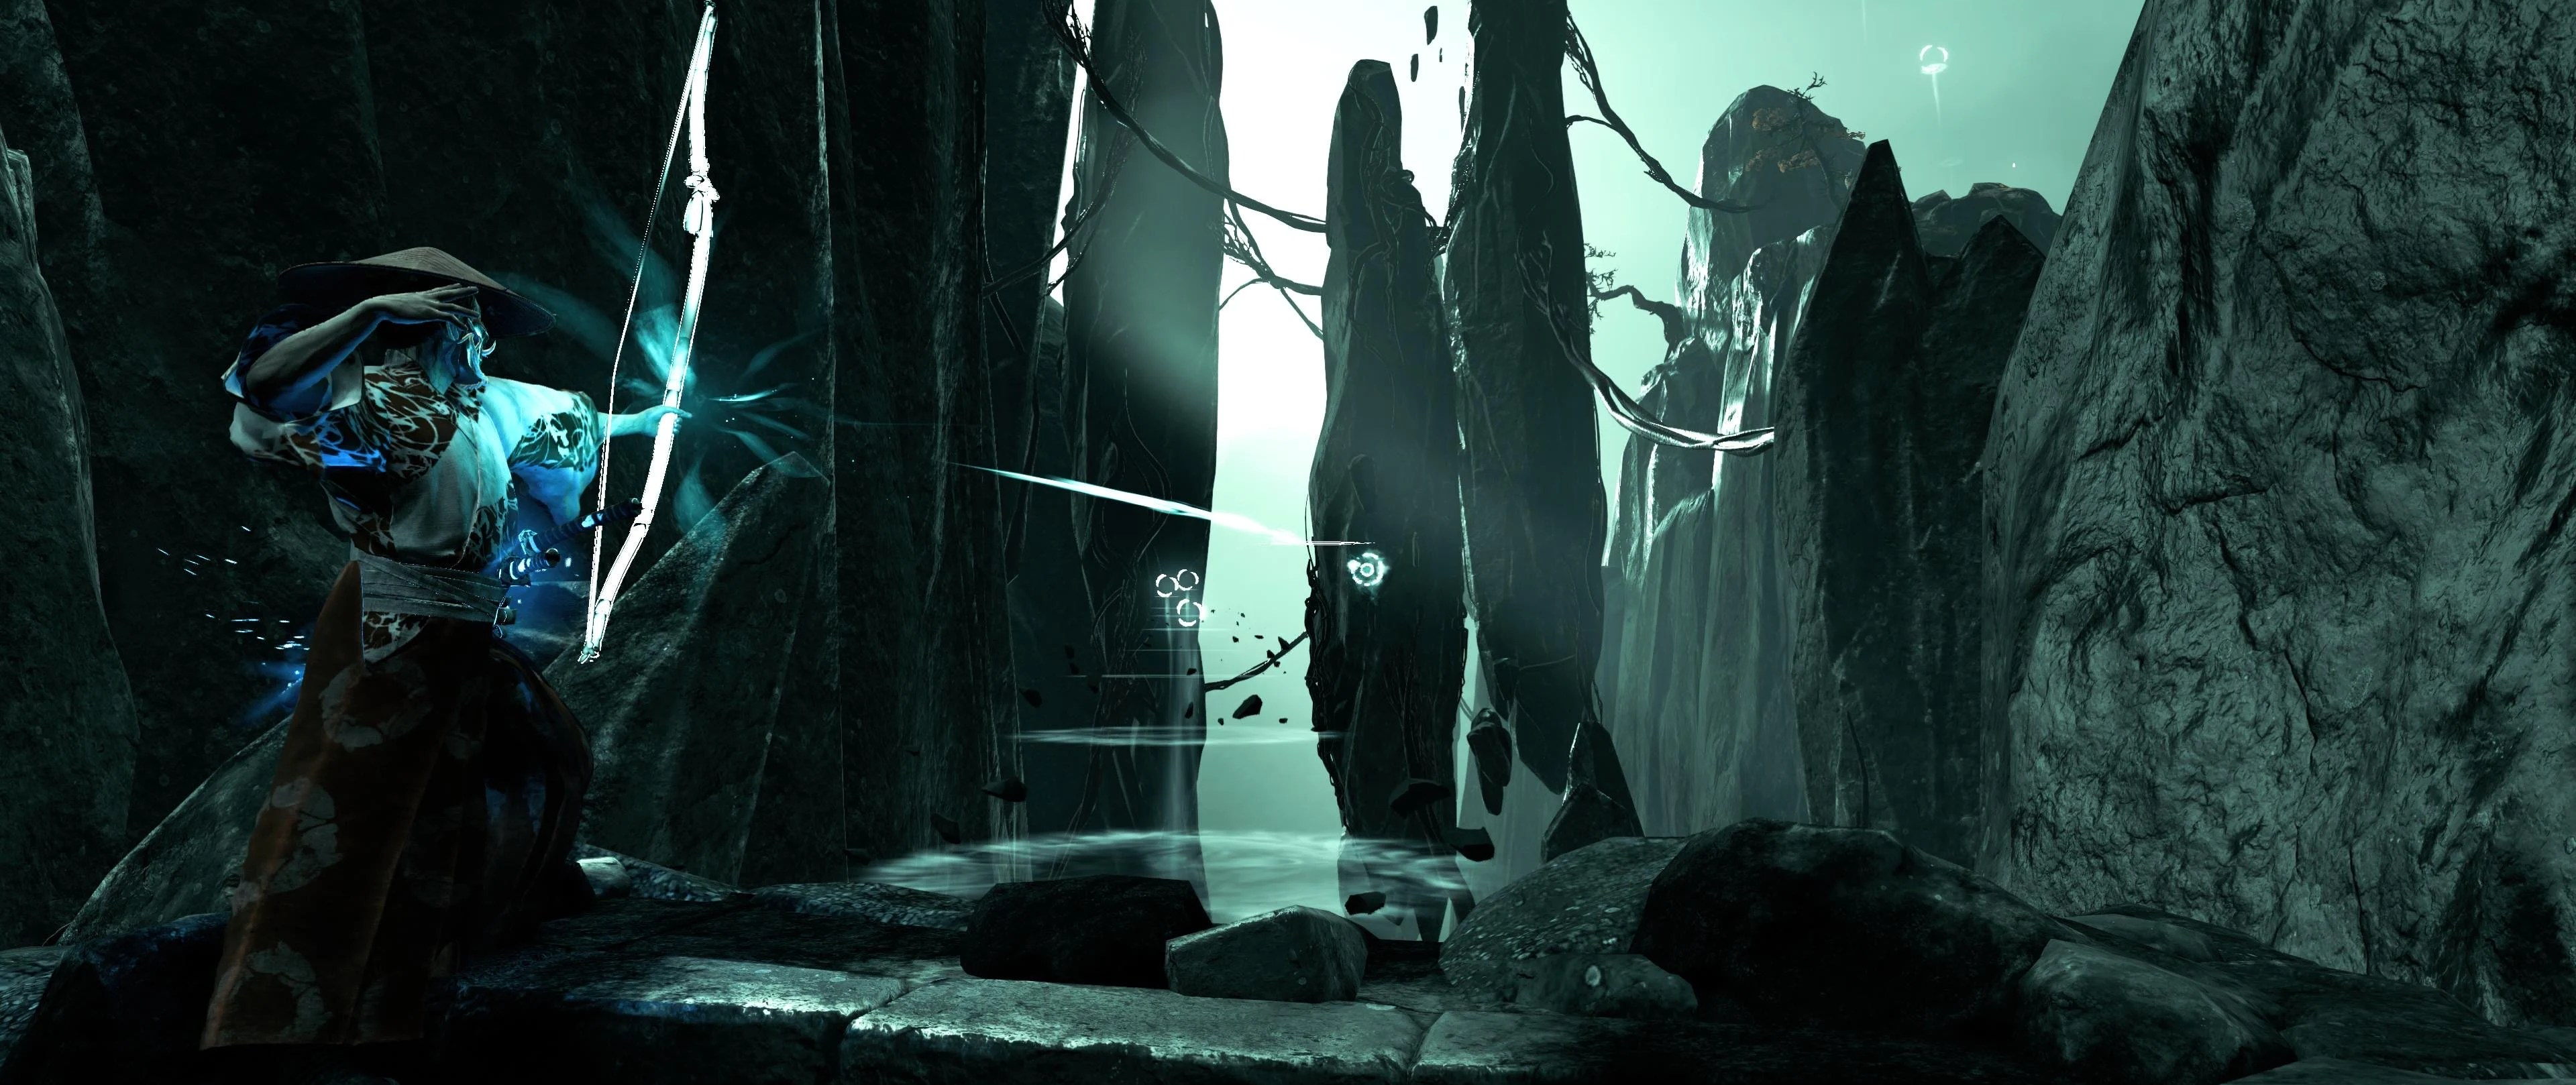
Spirit bow Jumps
When you’ve grabbed the spirit bow, you’ll see a target floating in the air, you’ll have to shoot it twice, and some platforms will appear. Jump on them to cross, be careful though, it wont stay there forever. The next section has some more platforms, and leads you to a platform with some crows and invisible archers. Kill them and get ready for a long platform section.
Run Ronin, Run!
Shoot the target and the platforms appear. cross and you’ll get to another island with more crows and archers. Don’t stop! keep running and cross the platforms. Don’t worry if you get stuck in the middle island, you can find a way back to the beginning! You do have to do it all again though!

Stop running away!
When your group has made it past the long run, you’ll end up at an area with a crow, and some invisible archers, they aren’t too difficult to deal with, but they do like to run away from you. When you’re done you have the option to climb up and find the 3rd chest. When you’re ready, you need to shoot 2 targets for the platforms to appear, have two players on each side and shoot. Do it at the same time, these platforms don’t stay up long!


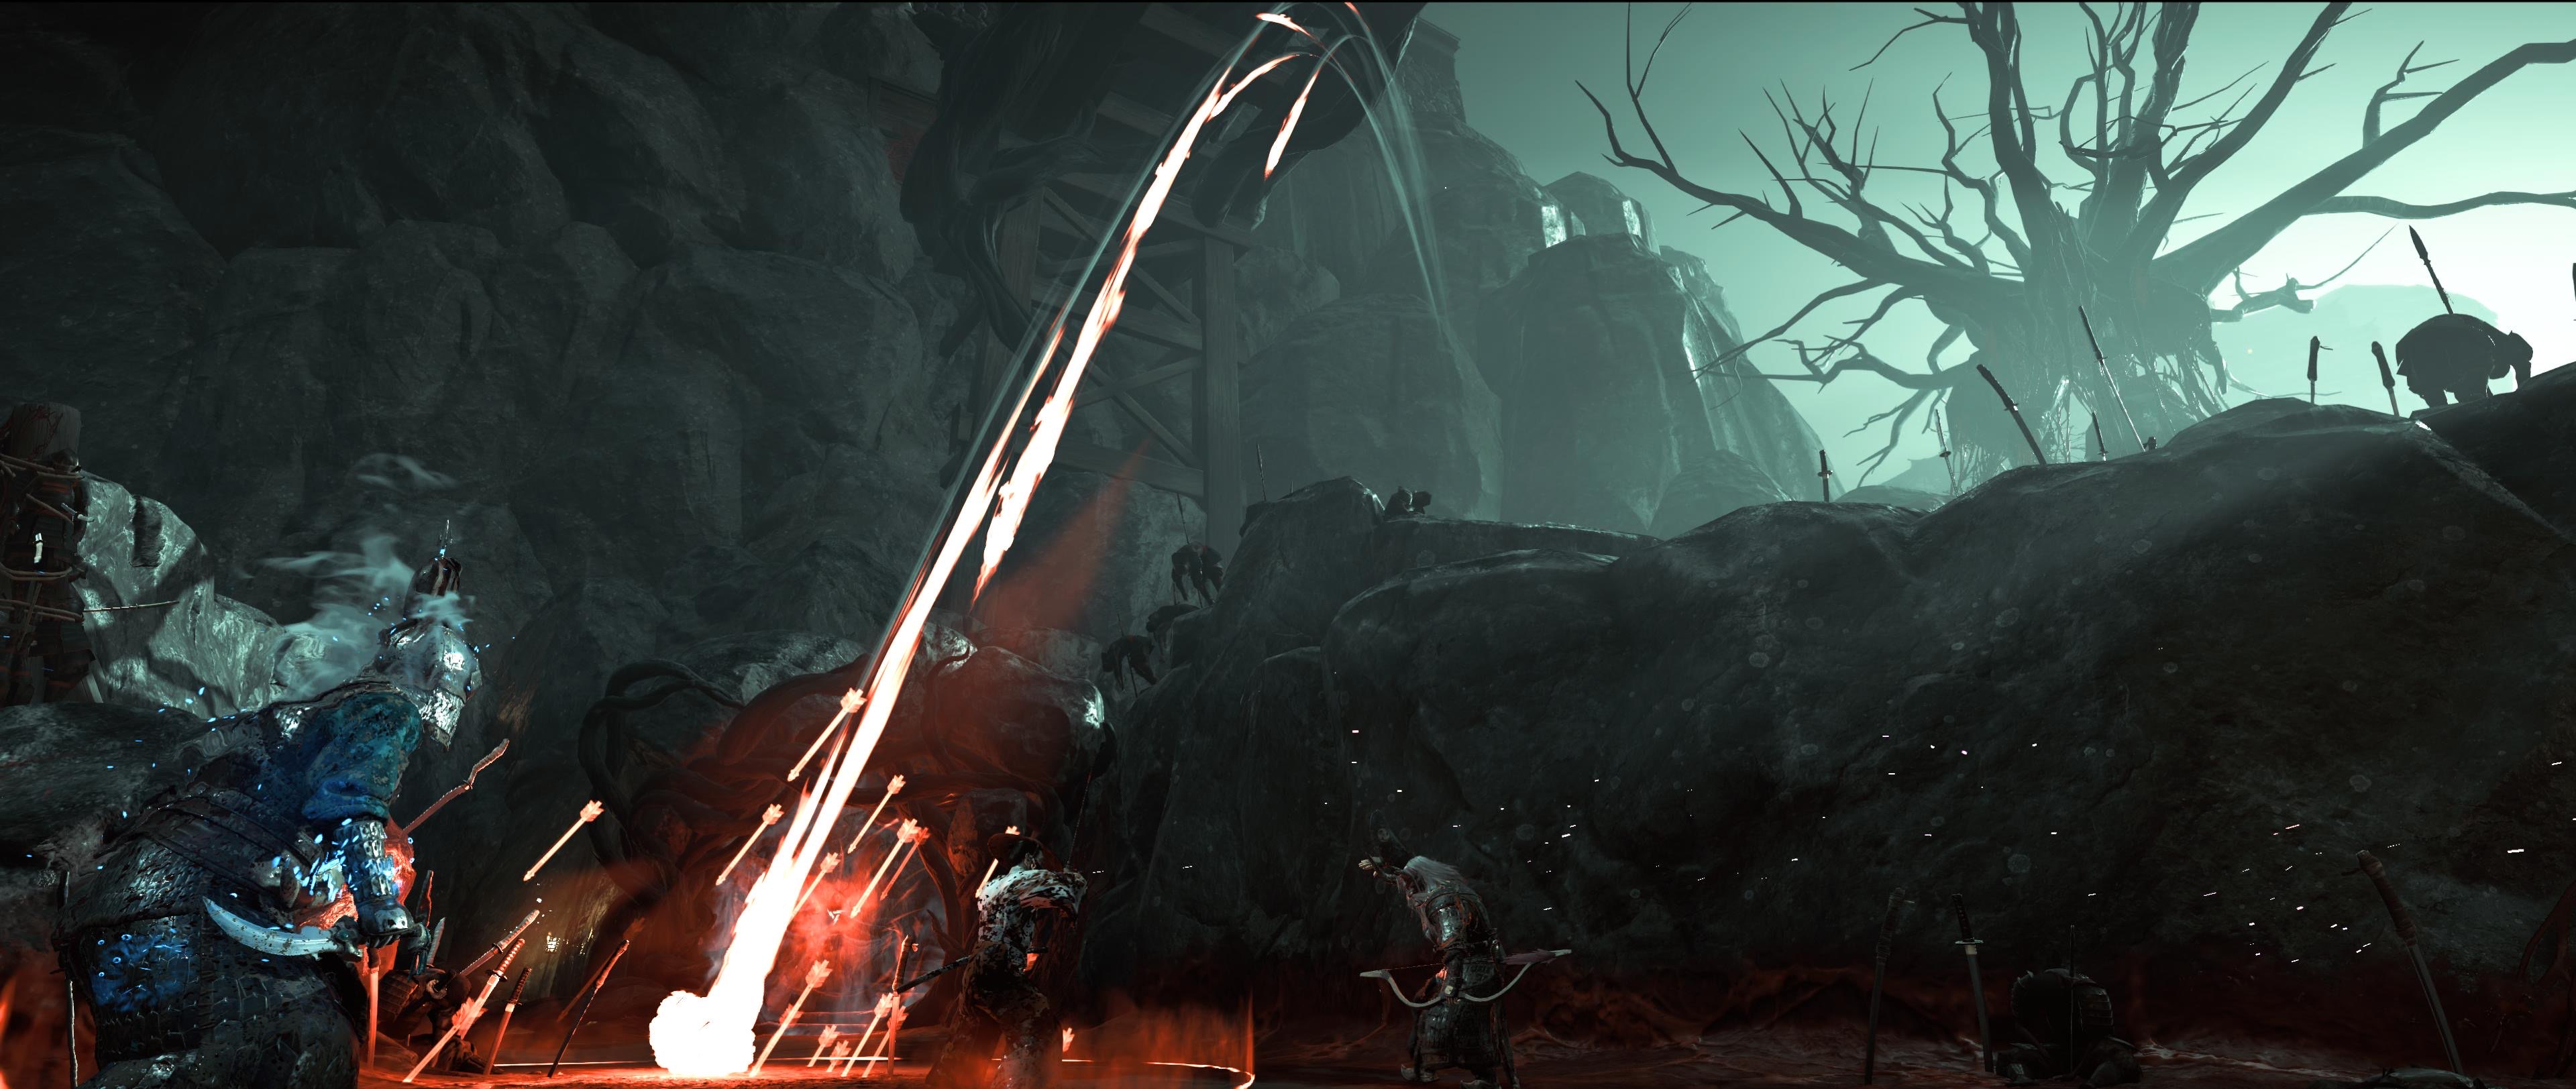
The fortress gates start
After all the jumping around it’s time for some proper puzzles. And the fortress is a fun section which needs you to have decent coordination while holding points. There are three gates in total which each require you to break attunement totems in order to progress. The first gate is easy, to show you what to do, find the color, and break the totem. You do have to be somewhat quick, you don’t have a lot of time! Also look out for the Hwacha’s shooting you. Remember? From the story missions?
A lot of attuned enemies….
You’ll notice that there are a fair amount of attuned enemies and these take little to no damage. They only take damage from a person who has the same color attunement. But if you use your spirit bow, they will also turn into a vulnerable state. Shoot enemies twice and they’ll turn normal! Do this if you want to clear some enemies because you are overwhelmed.


Now where is this attunement
In the next area you’ll have to do a little bit more to break the totem. The totem is easy to find, but where can you get the color? Next to the totem is a button which spawns a grapple, find where you need to go in order to use the grapple, and it will lead you to the attunement. Grab it, and break the totem. It’ll be more difficult because there are more enemies, have people hold the button and ward off enemies. And those Hwacha’s don’t help either!
We need to break how many?
In the final part of the fortress gates, you will have to break three totems. These totems require you to find multiple buttons and have multiple people follow the path. Find the path where you have to climb a bit and you’ll end up at a button, stand on it and some platforms spawn. Have two people go across the platforms. One of the two players can grab green, and continue on the path up.


Dodge those Hwachas!
The two players who are crossing continue on up, and will find the blue attunement. Have the player without a color grab it, and both drop down to where the green totem is. You’ll also find a Hwacha, break both of them! After the totem is broken, have the person now without a color stand on the button. This will spawn a grapple which lets the person with the blue attunement cross. Meanwhile the people who are still on the floor can defend and ward off enemies! Don’t die!
The final totems
The person who has the blue attunement can now swing across. Follow the path and you’ll eventually see the blue totem and also a Hwacha and the orange attunement. First break the hwacha and totem, then grab the final orange one. When you have this one you go to the sealed gate and break the orange totem. You’ve completed the fortress gates! Onto the fortress itself!


The Fortress
The fortress is the second part of this section and requires you to find 2 crystals and place them near the gate. Along the way there are attuned enemies, Eyes of Iyo, Hwacha’s and loads of enemies to be mindful of. The crystals are in eggs, and they luckily aren’t difficult to find. Because the Hwacha’s are constantly shooting you, it’s a good idea to send someone to destroy them, luckily there’s a nice little path for you to climb up!
Grabbing the crystals
On each side you’ll find some stairs which will lead up. Along these stairs you’ll find a blood gate. Break these gates and you’ll see 2 eggs. One of the eggs contains the crystal. Break the eggs and grab both the crystals. Now you have to take both crystals up the stairs in the middle, while avoiding the Eyes of Iyo and also the loads of enemies around. Work as a team and you’ll be able to place them both! After this it’s time for a breather from enemies, but more jumping is to come!


The Gorge of Shadows
After the gate opens there’s a lot of grapples for you to go through, after this you follow the path along and you’ll eventually see a lighthouse and a route where platforms spawn. On the lighthouse you’ll see a target that you need to shoot twice and the platforms appear. Run across them, you do have to be somewhat quick since they don’t stay up forever!
More attuned jumps…
When you get to the next island, you’ll be able to grab the three colors. Grab them and the person without color has to call out who jumps first. You’ve done this before so it should be easy! There is a grapple in the middle, so the person with the color after it should grapple first! When you get to the end you have to jump to a ledge, but it’s easy to fall off, so be careful. The people picking blue and orange have to do a lot of work at the obelisk, read ahead and pick wisely.


What’s down there?
After the attuned jumps you’ll get to the lighthouse. Here you can look around and see that there are some ledges that you climb down on. Follow the path and you’ll find the last chest of the chapter. When you’re ready to continue climb back up and you can see a target. Shoot it twice and it’ll activate platforms. But these platforms also have attuned jumps mixed in!

We can’t make it!
Because the attunement jumps can be somewhat difficult to coordinate, and the platforms you are standing on can disappear before you know it. There is the option to stop half way and shoot the target again. The best place to do this is on the blue platform in the middle, you’ll be able to just about see the target and shoot it. Continue and you’ll get the last set of jumps for the gorge of shadows. Shoot the target on the lighthouse and jump! You can take it slower and wait on the 1st blue platform, because the gray ones disappear fast!


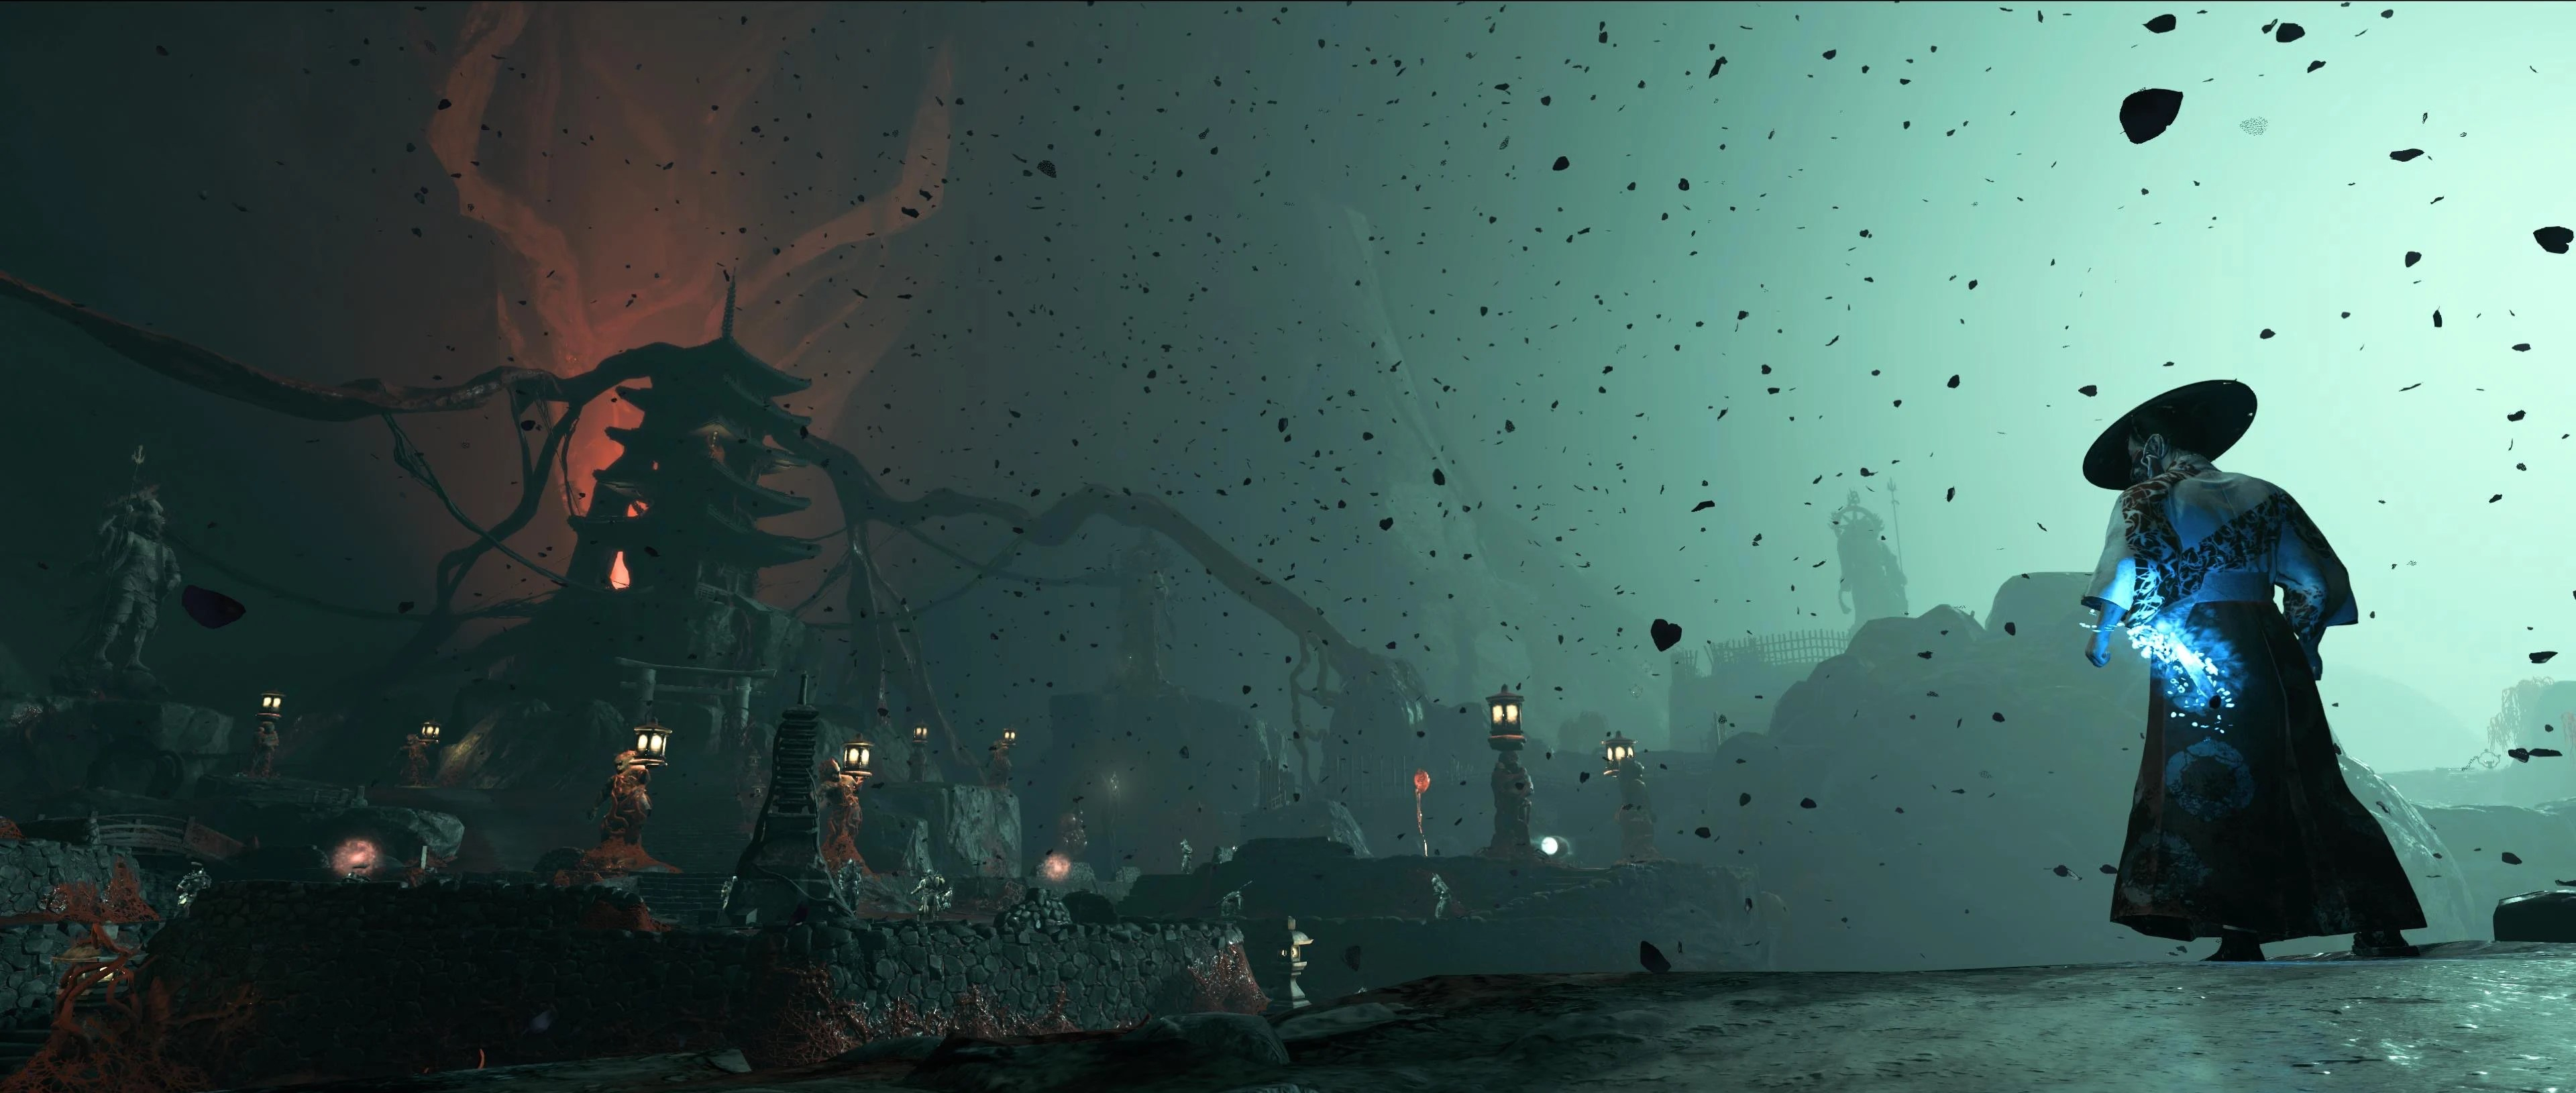
The Start of the End
After the Gorge of Shadows you’ll have completed most of the raid, and the end is near. You’re in the last area! But this can be deceitful since the last area is considered the hardest. The objective is simple, place 4 crystals around the obelisk to purify it. Simple right? But where are those crystals? They can be a bit tricky to find, but you’ll be able to do it!
What is happening?
First you need to clear out the area of all the enemies, after you’ve done that you get the first crystal, one down! To start the ritual, you have to place the 1st crystal. It’s smart to divide the group into two, one that defends, and one that grabs crystals. On each side of the obelisk there will a spot where enemies run towards, you don’t want them to reach it. This charges the obelisk and once full, you’ll lose. So kill the enemies before they reach that spot.

Getting the second crystal
When you’re ready, place the first crystal, after this, a second crystal will be revealed. This is on the left side. You’ll see that a route of platforms will appear on the left with an attuned platform and target. Two people will be defending and two will climb the path. The attuned platform is orange, so that person has to go. Have one more person, shoot the target twice, and go!
The maze is empty… right?
When the two have climbed the platforms, they’ll see the crystal they need. Just grab it right? Well, sort of. You’ll come across invisible strong enemies that will knock the crystal right out of your hands. You can either defeat them, or keep them at bay. With the crystal you’ll have to go through a maze, there are gates in the maze you’ll have to break. But warn your teammates, breaking these gates will spawn very powerful attuned Oni. As long as the defenders do a good job, you’ll have time to go through the maze.

2 down, 2 to go
After you’ve placed the first crystal, you choose to swap defenders and get ready for the third crystal. The obelisk corruption level resets, and a third crystal is revealed. Go to right side, and more platforms and a target are found. This time the person with the blue attunement has to go up. Take another person (or not, this side is a little easier) and follow the path. It’s a long path and eventually you’ll get to the crystal.
That’s a lot of gates
At the crystal, you’ll find blood gates, break these and continue. Warn the defenders when you break them, more powerful attuned Oni spawn that run straight at them. Shoot them with the spirit bow twice to make them lose the attunement and be able to kill them. There are multiple gates, so communicate as to when is good to break the next gate. When you are through all the gates, continue and place the third crystal.

Only one left…
On to the last crystal! But this one is different. it’s located in the middle of the area, but on a ledge. In order to get to that ledge, 2 people will have to go separate paths to a button in order to spawn platforms where a third person can climb up and grab the final crystal. You’ll find more targets on each side of the big pagoda. Have people shoot them twice and follow the path. You’ll encounter more blood gates, the will spawn more powerful Oni, so communicate when it’s good to do so. After the 2 people are stood on the buttons, a third person can climb on the platforms in the middle and grab the crystal.

Its done!
Be mindful that there is only 1 person defending when the last crystal is being grabbed. So try to do it fast! Carry the crystal down the stairs to the obelisk, and place it. You may feel relieved because you’re done! Congratulations! After you’ve placed the crystal, walk past the pagoda and go towards the gate. Walk through and you have completed the 2nd chapter of the raid! Now onto the final chapter, and deal with Iyo once and for all!