
Ronin Builds
Ronin Builds Gallery
Raid
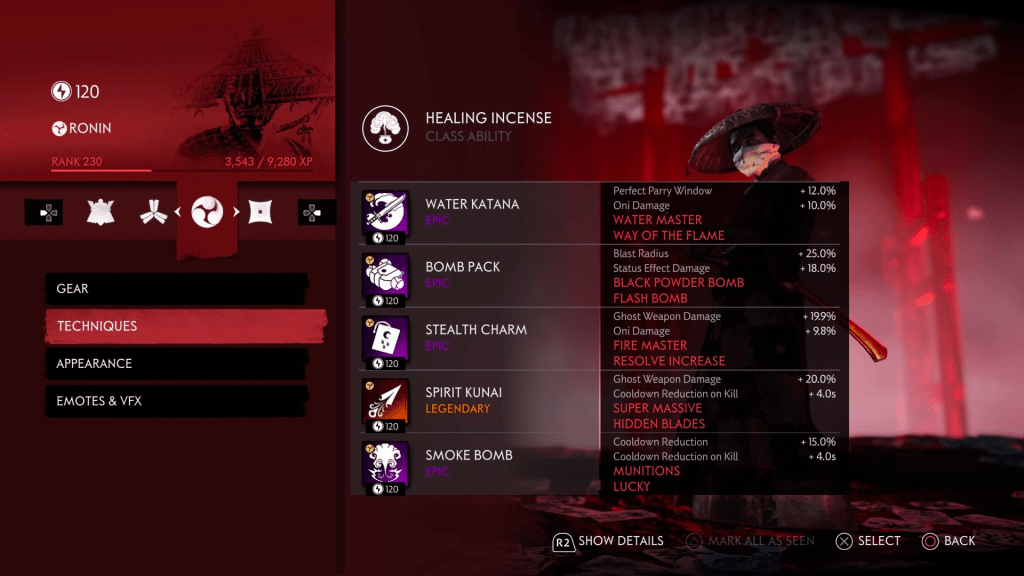
Chapter 3: Iyo Duel (Wind Kick)

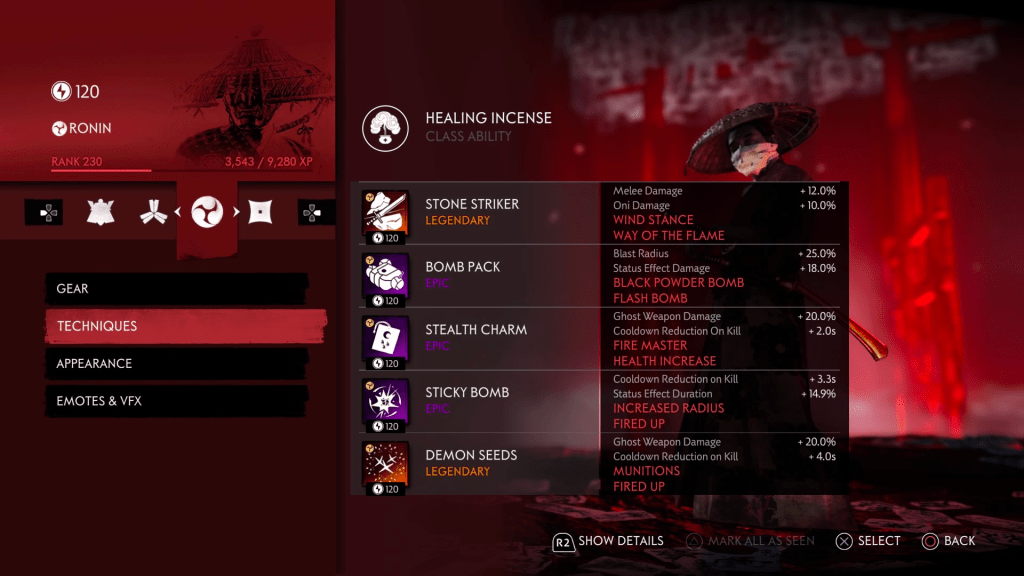
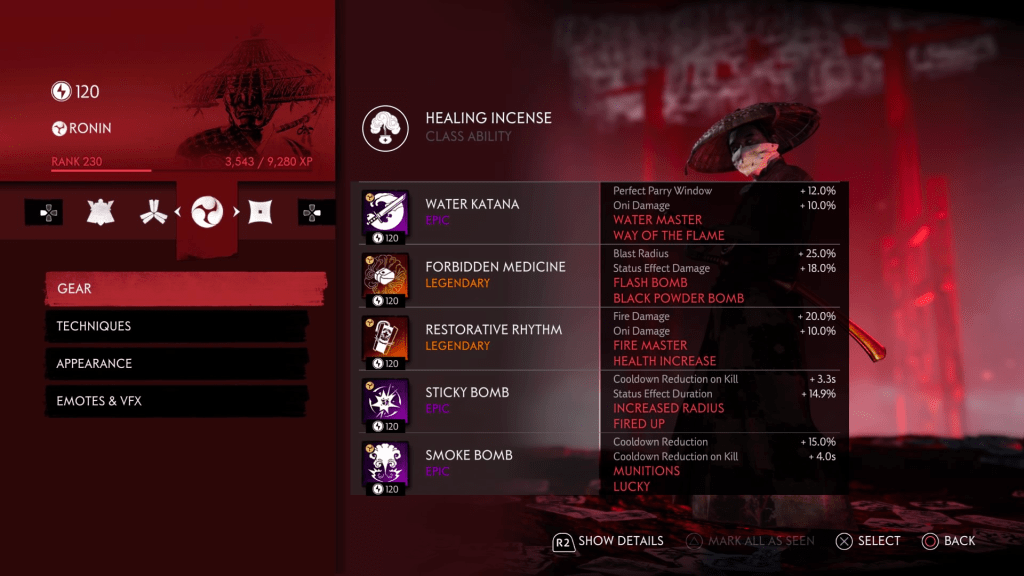
ABILITY: Healing Incense
TECHNIQUES: 4-1-1
A Ronin build for dueling Iyo that focuses on cheesing her with Wind Kicks (double damage from Masamune, extra damage from Enjos)
Pros:
– Very fast stagger on Iyo with kicks
– High damage output
Cons:
– Uses Enjo’s, need to ensure you are full HP to use effectively
Gear Swap options
Katana: epic Katana (Wind) with Wind Master perk
Charm: epic Charm (Melee) with Melee Damage & Staggered Damage
Chapter 3: Iyo Duel (MMC)
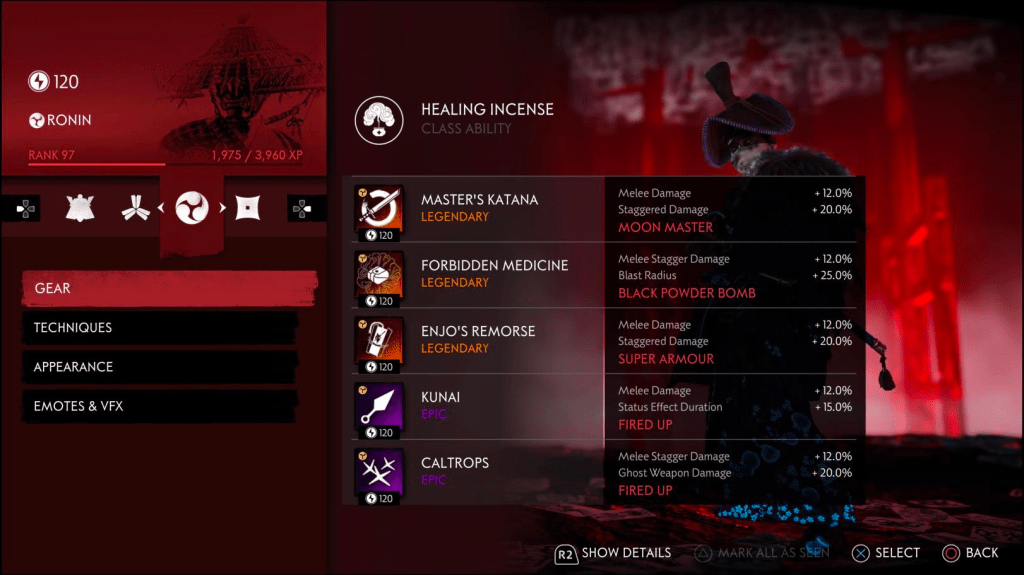
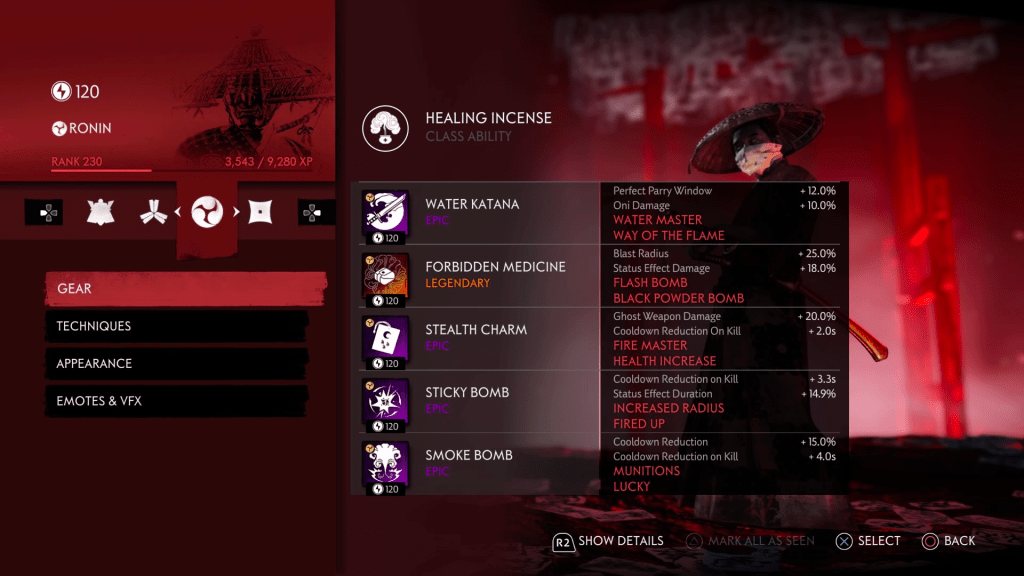
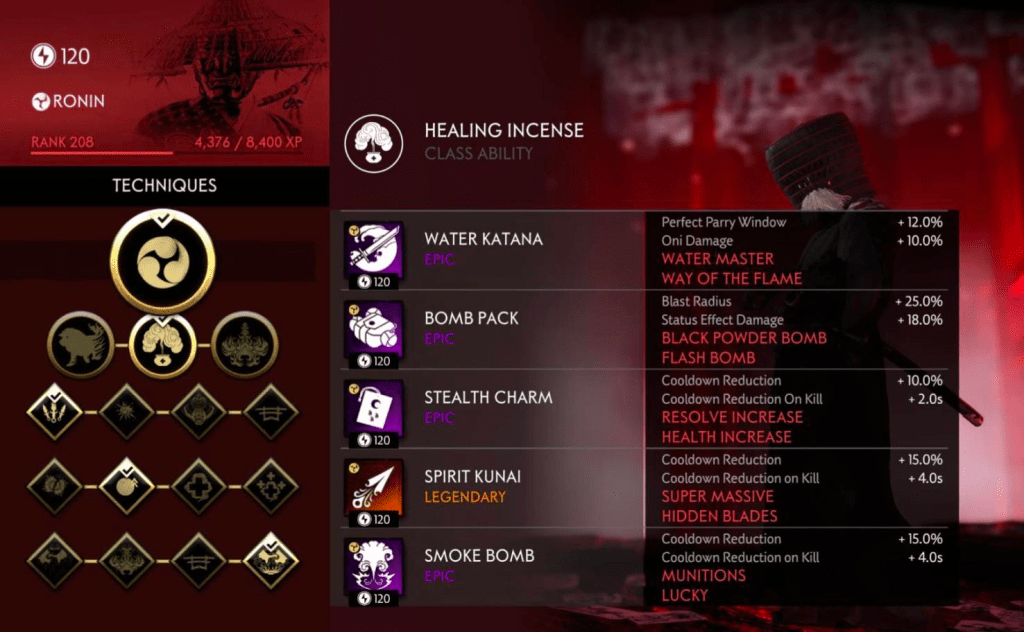
ABILITY: Healing Incense
TECHNIQUES: 4-1-3
A Ronin build for dueling Iyo that focuses on Moon Master Cancel. Forbidden Medicine for self-heals to keep Enjos active
Pros:
– High stack of Staggered Damage
– Uses Enjos for extra damage boost
– Super Armor to spam attack through Iyo (if you miss staggering)
Cons:
– Triple Legendary (lose Heal Ult & GW boost)
– High skill floor
Rivals

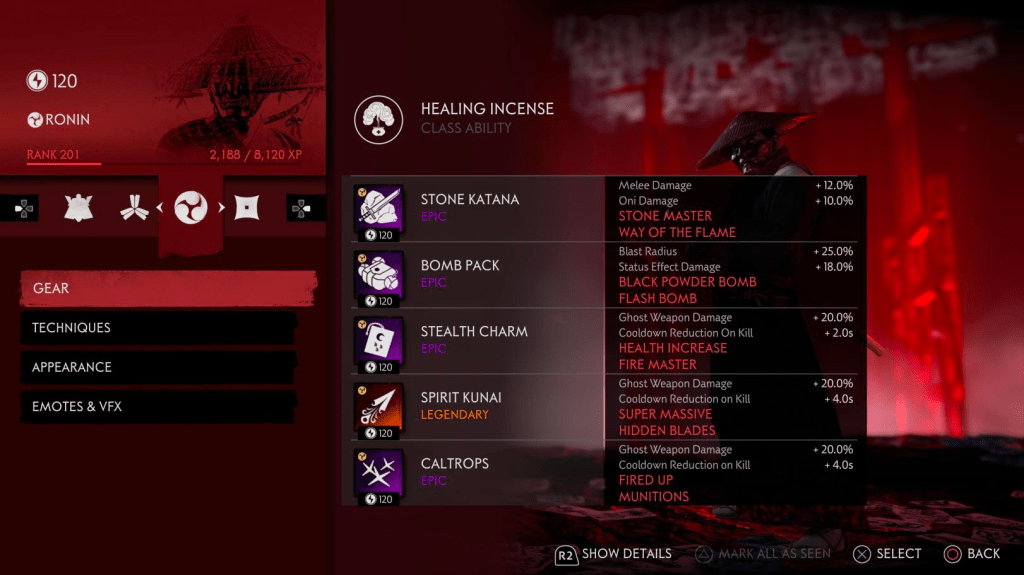
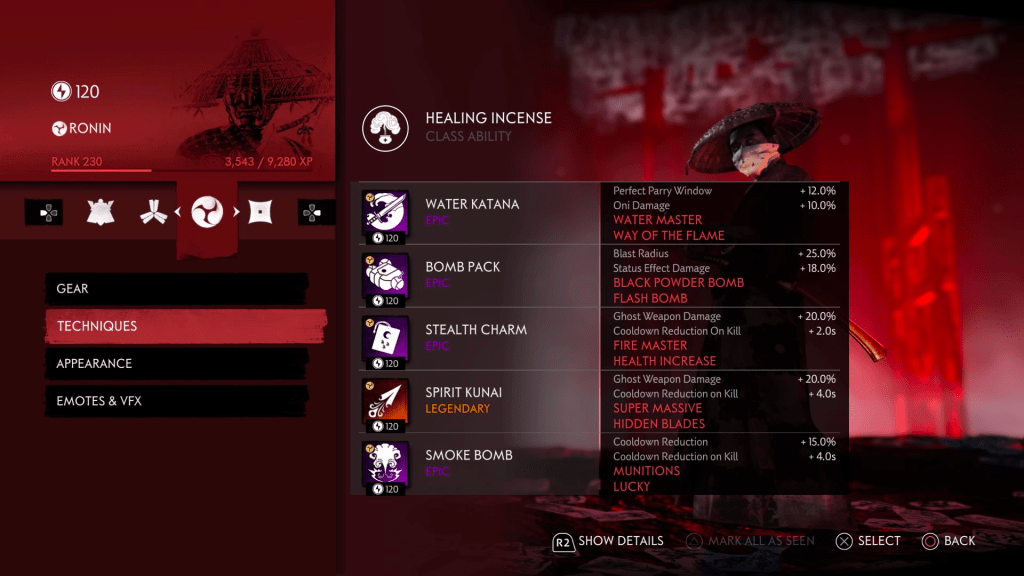
ABILITY: Healing Incense
TECHNIQUES: 1-3-3A Trials & Rivals build that uses Enjos for more total damage on all attacks (+15%) when at full HP.
Pros:
– High damage output
– Strong single-target DPS
Cons:
– Very high skill floor (need to remain at full hp with Enjos)
ABILITY: Healing Incense
TECHNIQUES: 1-1-3
A Rivals build that optimizes damage
Pros:
– High damage output
– Strong single-target DPS
– Great crowd control & resolve gain
Cons:
– High skill floor
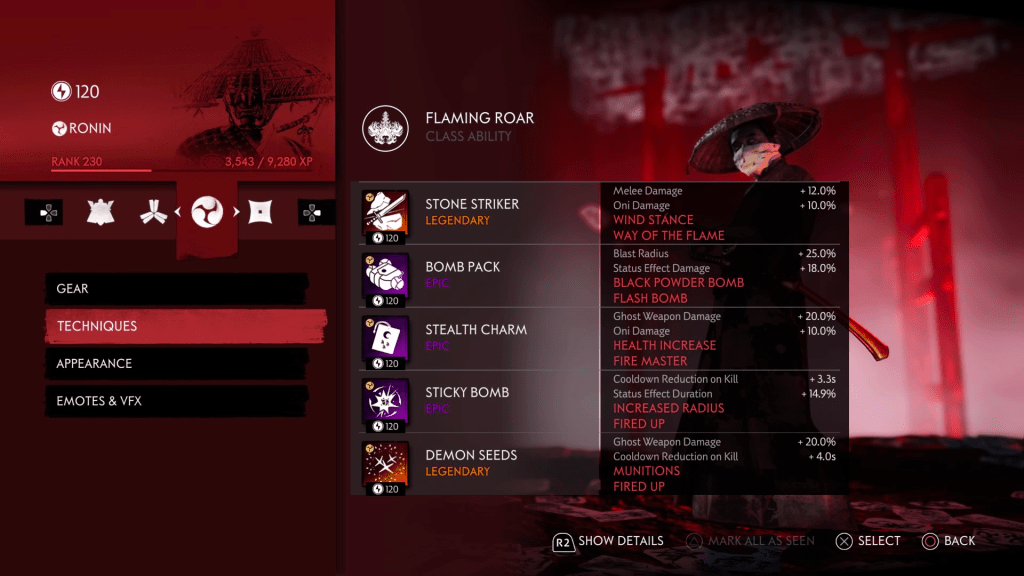
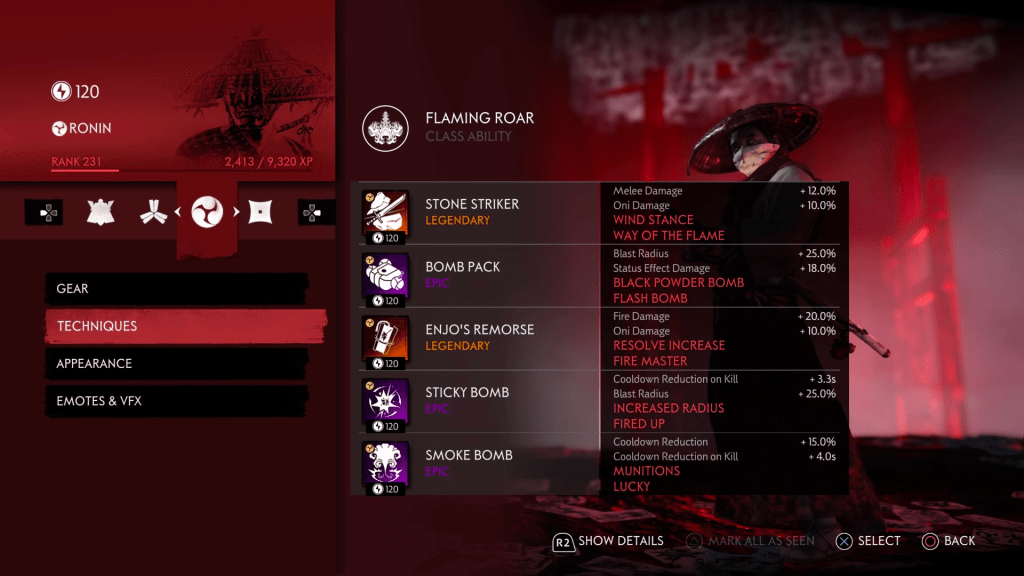
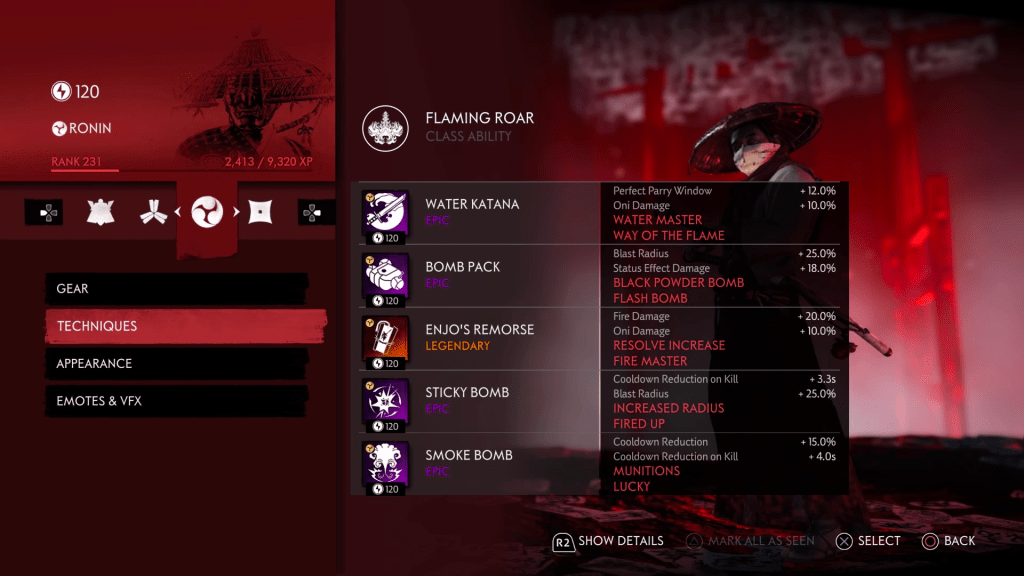
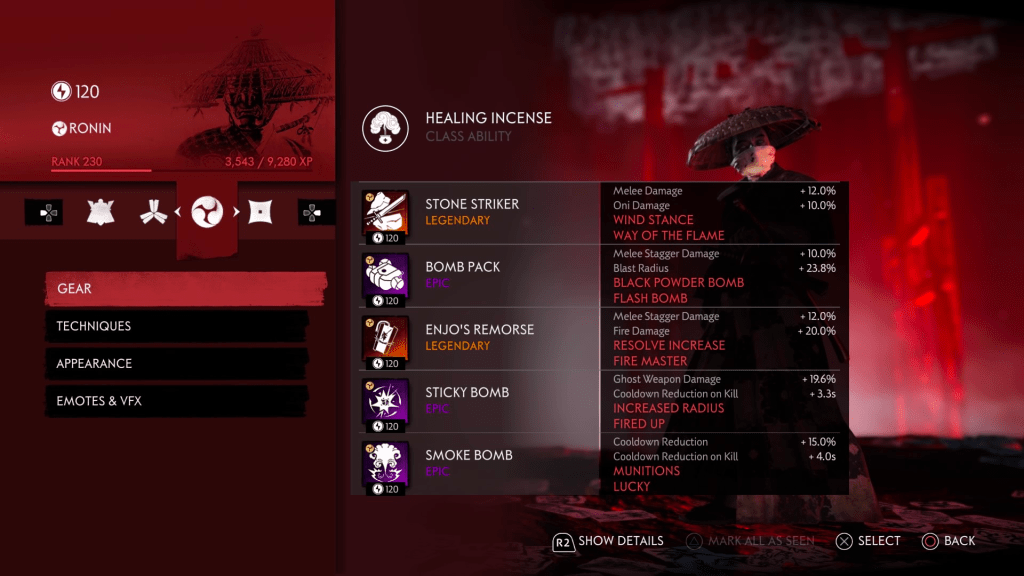
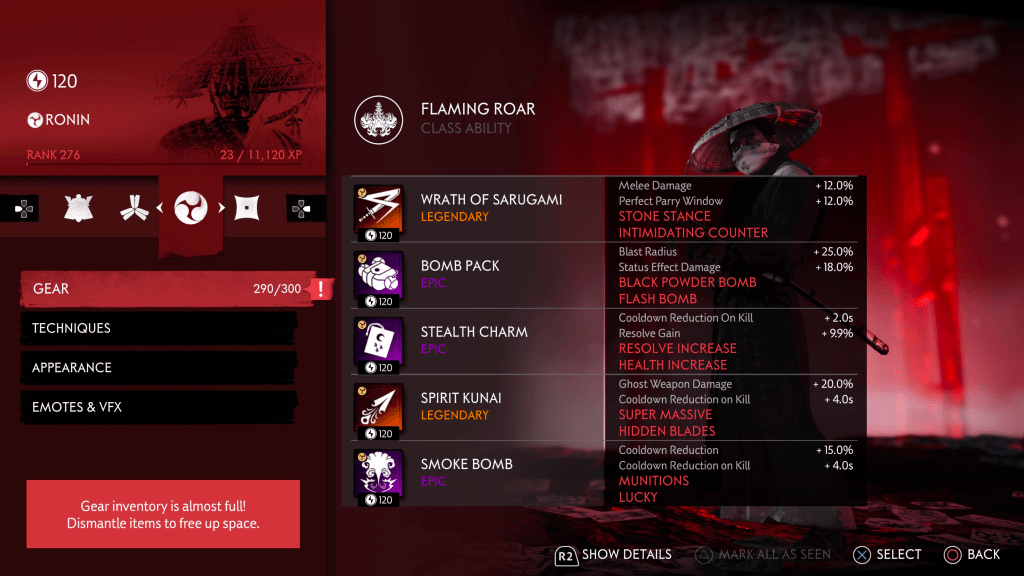
ABILITY: Flaming Roar
TECHNIQUES: 1-1-3
A Trials & Rivals build that outputs tons of damage in exchange for healing
Pros:
– High damage output
– Strong single-target DPS
Cons:
– Lacks any self-heal
– High skill floor
Survival
ABILITY: Flaming Roar
TECHNIQUES: 1-2-3
A version of a Leaderboard build
Pros:
– Great crowd control
– Very high DPS on single targets using Stone Striker
– 15% extra damage on all attacks (Enjos)
Cons:
– Lacks self-healing
– High skill floor
– Requires a dedicated team (not great for solo play)
ABILITY: Flaming Roar
TECHNIQUES: 1-3-2
A version of a Leaderboard build
Pros:
– Great crowd control
– Lots of DPS between gear & Fire Ultimate
– 15% extra damage on all attacks (Enjos)
Cons:
– No self-healing (must rely on teammates)
– High skill floor (not an easy-to-use solo build or for random matchmaking)

ABILITY: Healing Incense
TECHNIQUES: 1-2-1
A strong basis for Survival game mode
Pros:
– Good crowd control with bombs
– Uses Spirit Kunai to refresh Smoke & Incense
– Good survivability
Cons:
– Lacks single-target DPS
– Lacks a damage Ultimate that other classes possess
ABILITY: Healing Incense
TECHNIQUES: 1-2-1
A strong basis for Survival game mode
Pros:
– More damage and crowd control (due to Caltrops)
– Able to refresh with Spirit Kunai
– Has Heal Ultimate available often
Cons:
– Lack ability to control spawns or hold enemies (no Smoke)
– Fewer munitions drop (could mean less Black Powders)
ABILITY: Healing Incense
TECHNIQUES: 1-1-3
A strong basis for Survival game mode
Pros:
– Great crowd control from bombs & sticky
– Very high DPS on groups or single targets (Enjos & Stone Striker)
Cons:
– High skill floor
– Need to stay at full health for Enjos benefit
ABILITY: Healing Incense
TECHNIQUES: 1-1-3
A variant that foregoes spawn stopping (no smoke) in favor of better crowd damage and higher DPS
Pros:
– More damage and crowd control (due to Caltrops)
– Demon Seeds provide Weaken on targets hit
– Replaces Ultimate with ability to Stone Strike
Cons:
– Lacks de-aggro ability or spawn stopping ability in some cases (teleporting archers, etc)

ABILITY: Healing Incense
TECHNIQUES: 2-3-2
Sacrifices damage from Stealth charm in exchange for Resolve gain and additional resolve/health using Utlity charm
Pros:
– Builds Ultimate very quickly, especially on crowds
– Good damage on Spirit Kunai for refreshes
Cons:
– Lacks clear DPS
– Unable to easily solo spawns
Trials
ABILITY: Flaming Roar
TECHNIQUES: 4-2-1
Berrek’s build for random matchmaking & completing any challenge fairly easily
Pros:
– Great AOE (flame roar, IC, bombs)
– Good crowd control (smoke, IC, bombs)
– Good damage regardless of challenge chosen
– Good healing (Healing Ult)
– Easy to reset ghost weapons
– Good resolve gains from multiple sources
Cons:
– not optimized for a specific trial
– “No Range/GW” trial can still be challenging
– no +50% Ghost Weapon damage technique

ABILITY: Healing Incense
TECHNIQUES: 1-2-1
Berrek’s build for random matchmaking & planning to carry
Pros:
– Good AOE (bombs, SK)
– Good crowd control (smoke, bombs)
– Great healing (Healing Ult, incense)
– Easy to reset ghost weapons
– Good resolve gains from multiple sources
Cons:
– Lacks damage/survivability for “No Range/GW” challenge
Hellmode
ABILITY: Healing Incense
TECHNIQUES: 1-4-1
A strong Hellmode build that uses Forbidden Medicine in conjunction with Cure-All to keep the team healed
Pros:
– Good on-demand healing (FM) & Ultimate/Incense healing
– Decent Crowd Control
– Great resolve building between sticky & bombs
Cons:
– Lacks single target DPS
ABILITY: Healing Incense
TECHNIQUES: 1-4-1
A variant that relies on Spirit Kunai to refresh Smoke & Incense for more crowd control and healing and munitions.
Pros:
– Able to refresh SK with 2 kills (16s CDK; 2s charm, 4s kunai, 10s SK special)
– Able to refresh Smoke Bomb very quickly
– Good single target DPS (using all 5 kunai on a single target)
Cons:
– Relies on teammates allowing refreshes (if running with heavy DPS classes)
ABILITY: Healing Incense
TECHNIQUES: 4-4-1
A strong support build for a dedicated team who wants to run 3 DPS and have 1 healer. Ronin role is to keep constant heals for the team
Pros:
– Able to heal from a variety of sources (Drums, Forbidden Medicine, Incense, Ultimate)
– Has several crowd control tools (bombs, smoke, sticky)
Cons:
– Sacrifices a LOT of damage
– Relies on teammates for clearing waves (not able to solo a spawn very easily)
Solo
ABILITY: Healing Incense
TECHNIQUES: 1-2-4
A ronin solo build that focuses on refreshes & uses its ultimate to control zones more easily (throw and stagger enemies)
Pros:
– Stagger Ultimate controls zones & minimizes aggro
– Cooldown% & Cooldown on Kill provide constant Smoke & Spirit Kunai
– Good survivability
Cons:
– Lower Ghost weapon damage than usual (just need to keep this in mind when going for kunai kills)
– Low single-source DPS
Immunity
Spirit Animal (Just for Fun)
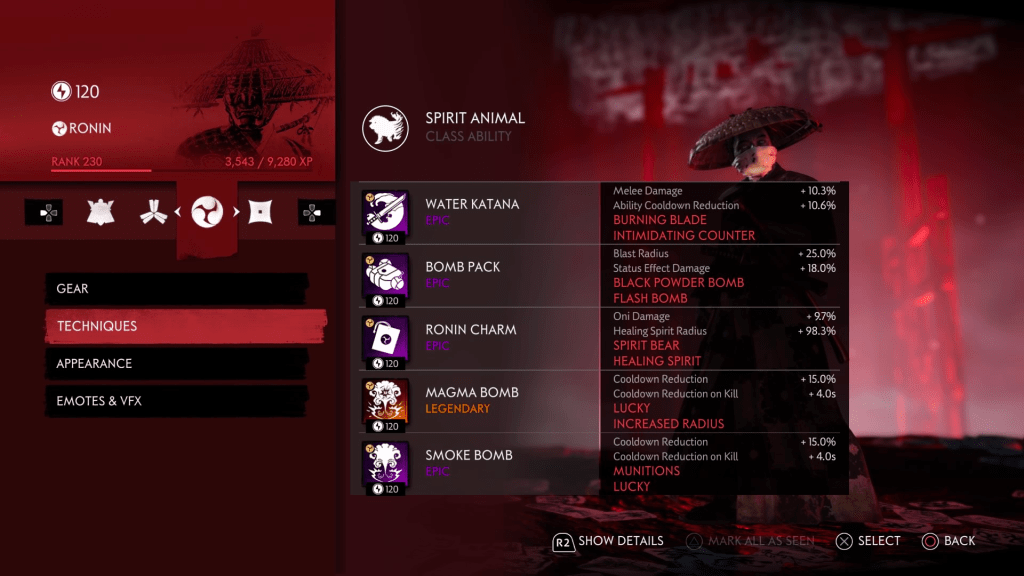
ABILITY: Spirit Animal
TECHNIQUES: 1-3-1
A healing bear/spirit animal build that maximizes supporting the team
Pros:
– Magma & Smoke bombs to de-aggro enemies & control spawns
– Healing bear provides on-demand healing mid-combat
– Good crowd control with bombs
Cons:
– Lacks good DPS
– Bear damage output is low
“I thought we were two friends having fun you were born Lord Sakai; that tournament was my one chance to gain attention, to enter the service of the lord, become a samurai because no one else would have me…”
– Ryuzo, a masterless samurai
